
Duik Angela is a powerful rigging tool for After Effects that can be used to create complex and realistic character rigs. In this article, we will walk you through the steps of rigging a character in Duik Angela 2023.
Prerequisites
Before you begin, you will need the following:
- A copy of After Effects 2023
- The Duik Angela plugin
- A character design (either created by you or downloaded from an online resource)
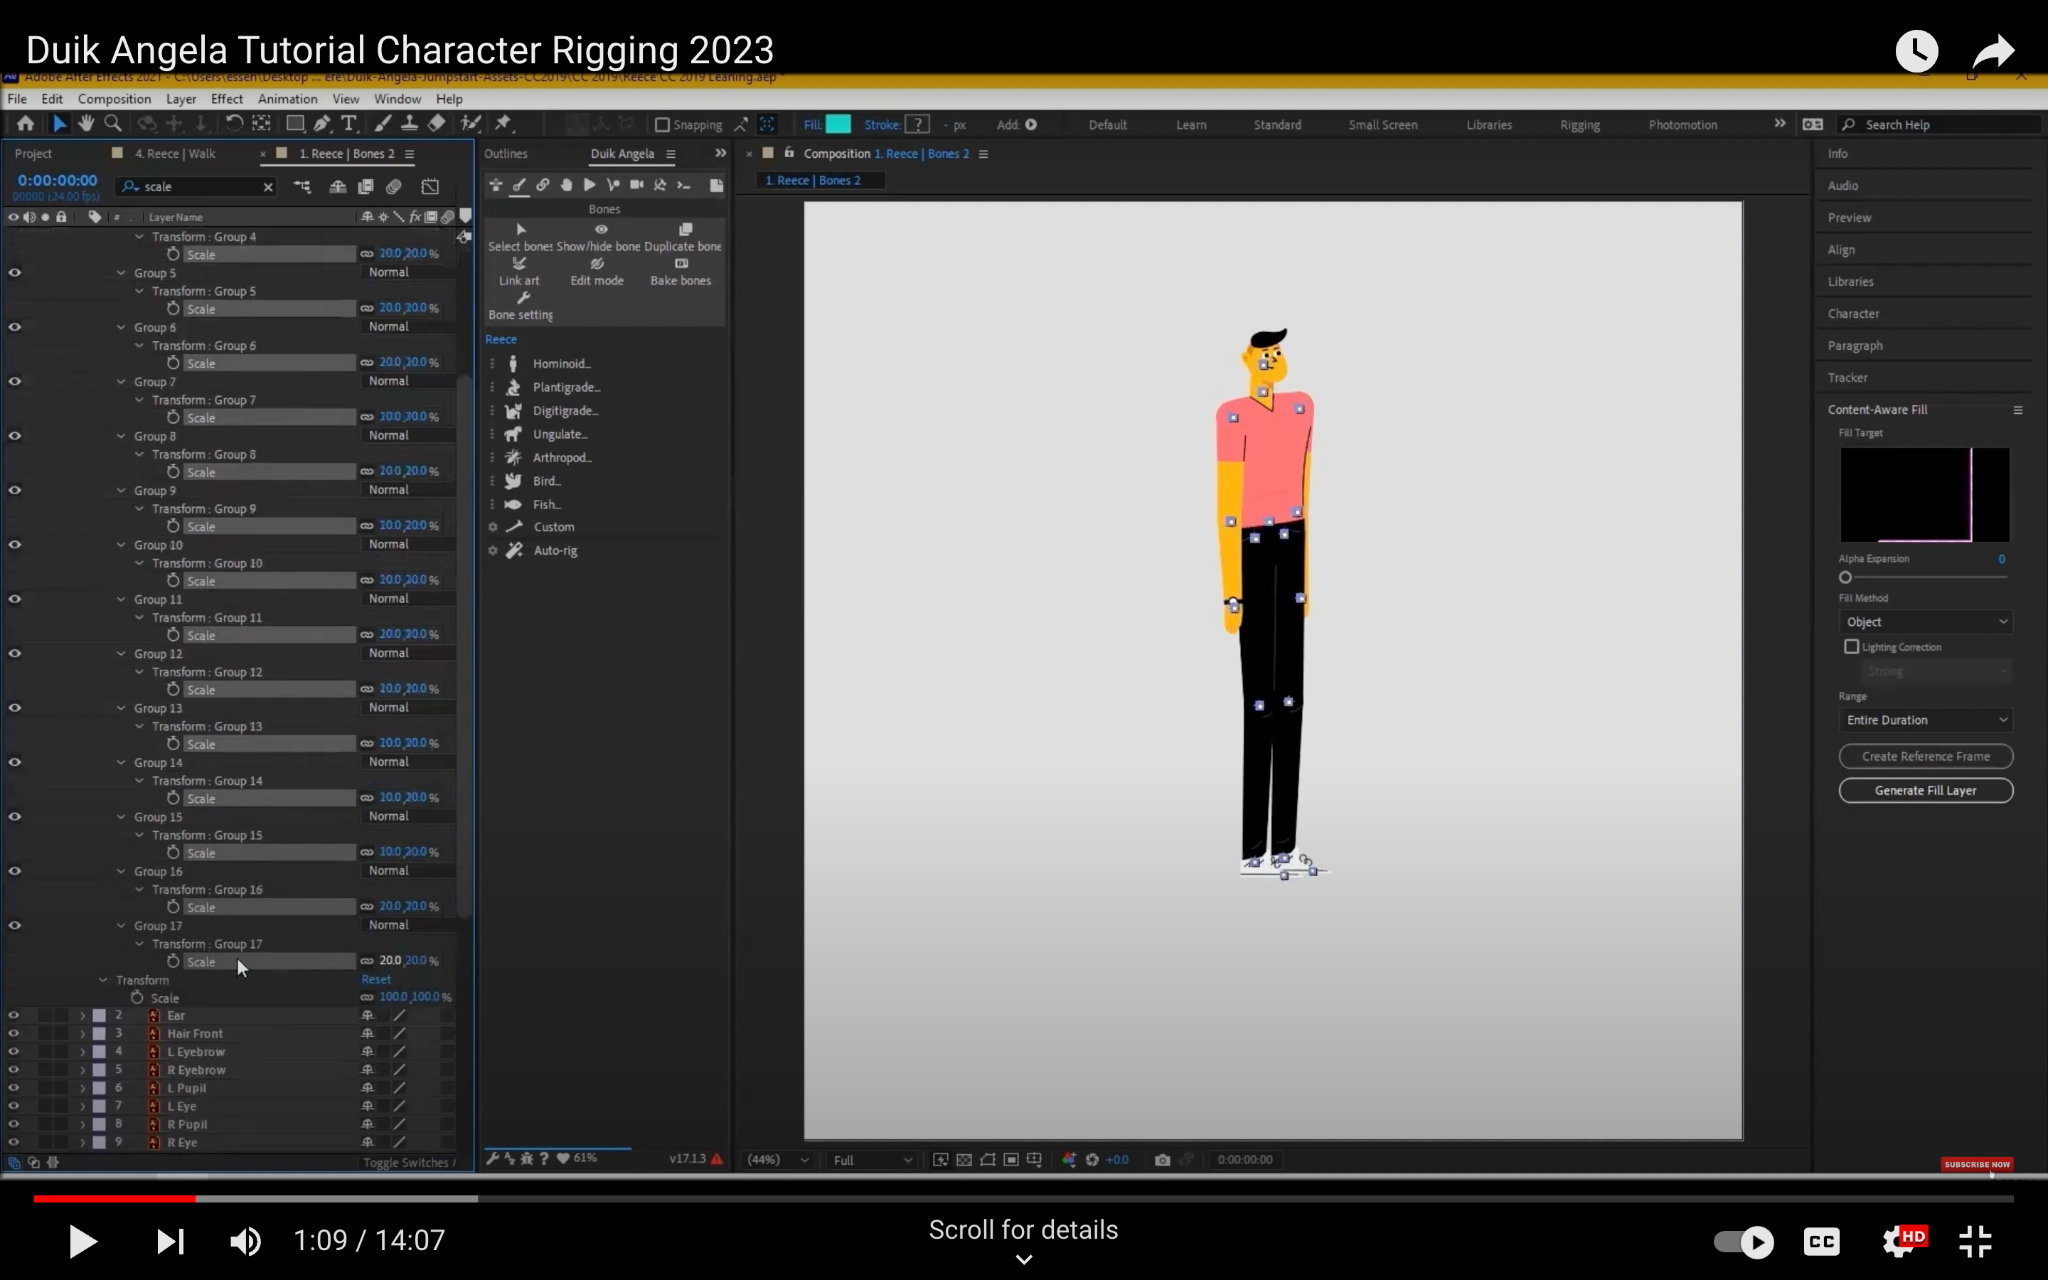
Step 1: Import your character design
Once you have all of the necessary files, open your After Effects project and import your character design.
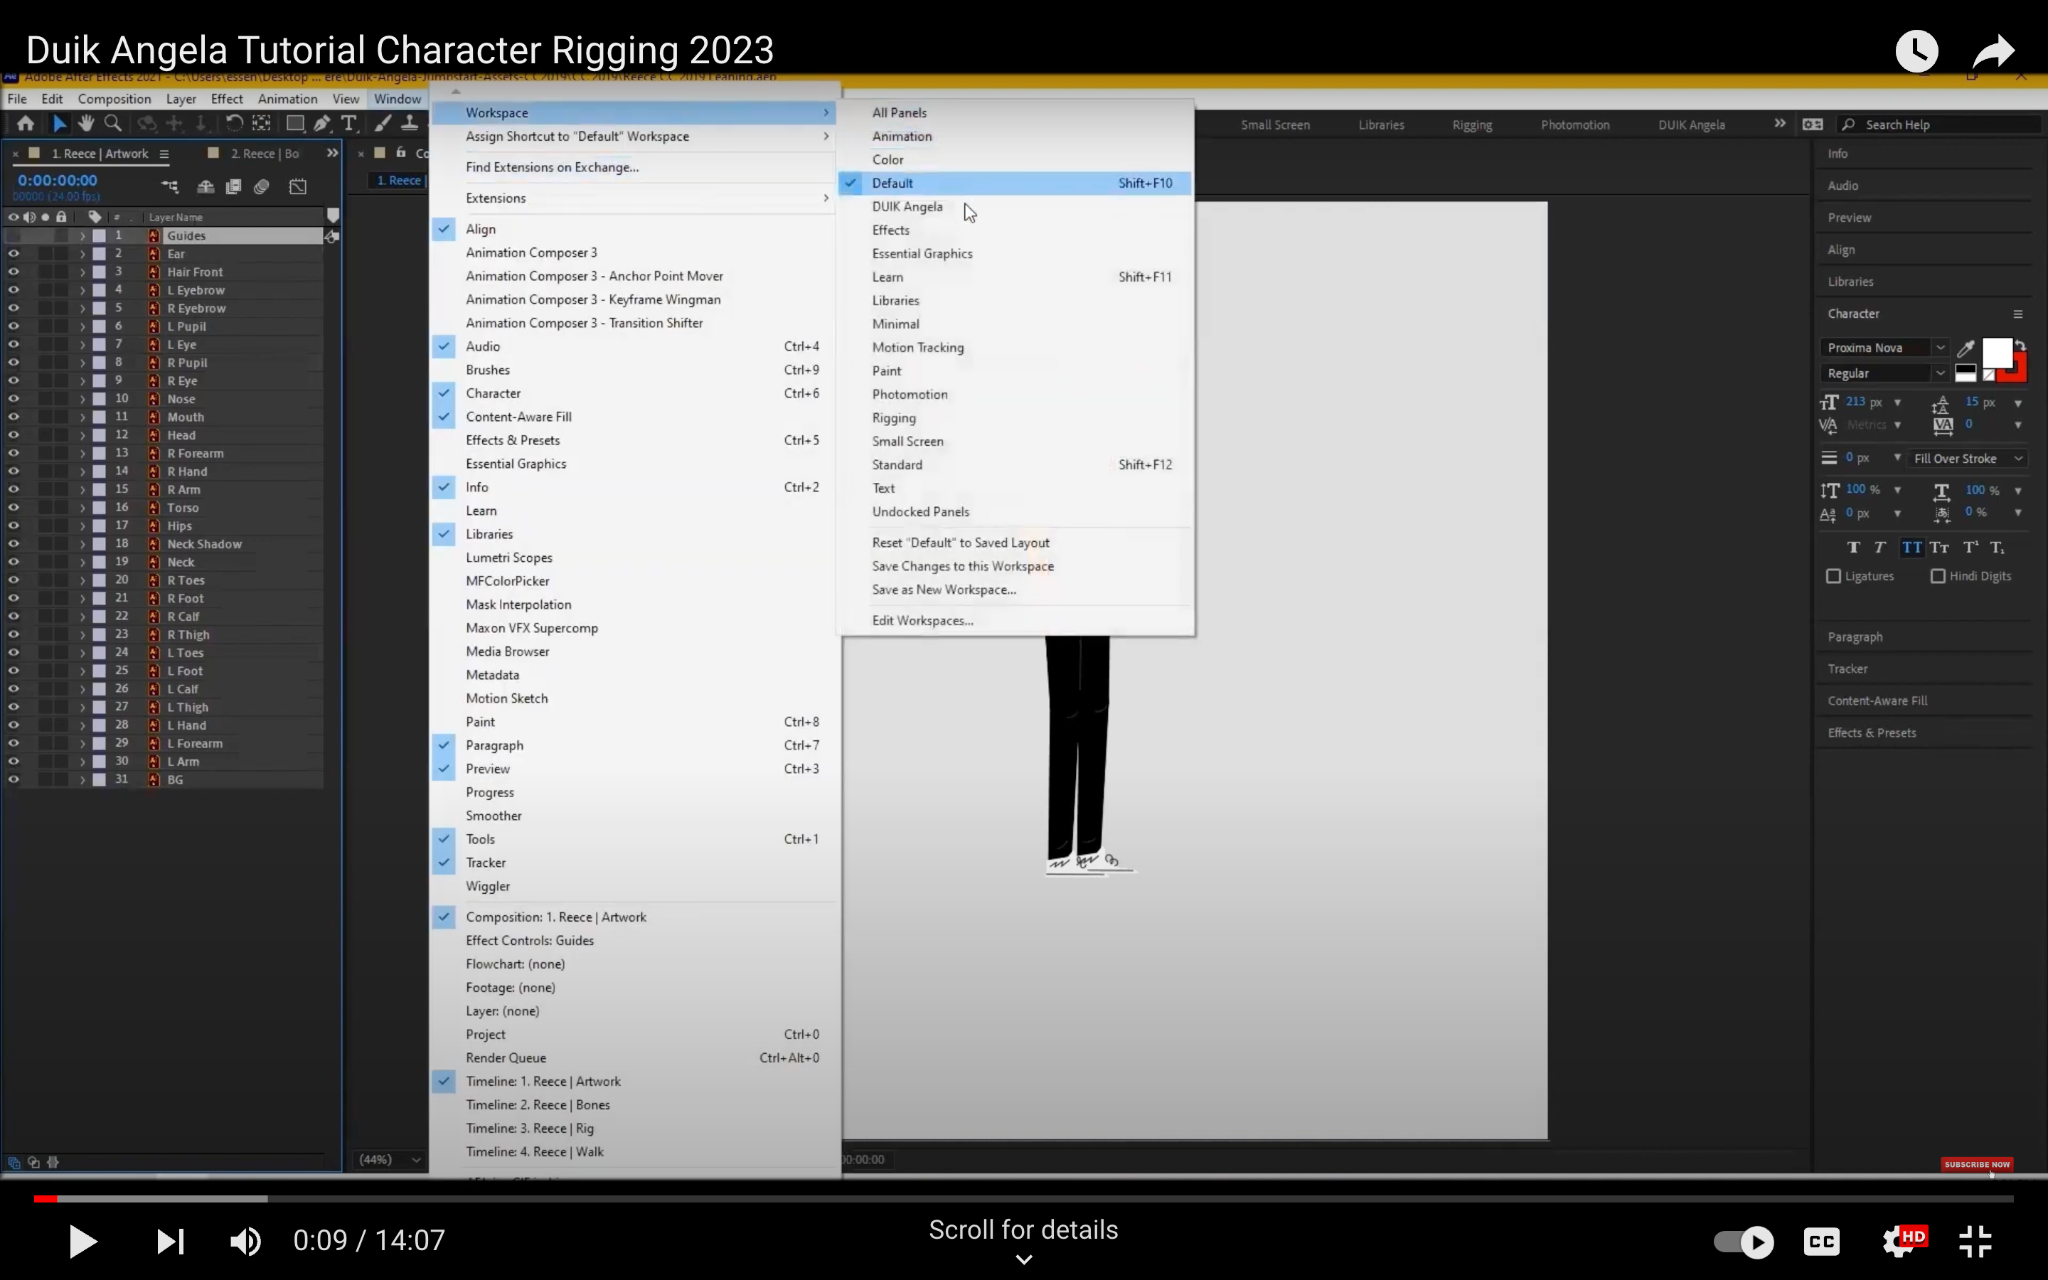
Step 2: Set up your workspace
Duik Angela uses a custom workspace that makes it easier to work with the tool. To set up your workspace, follow these steps:
- Go to Window > Workspace > Duik Angela.
- Make sure that the Bones and Angela Properties panels are open.
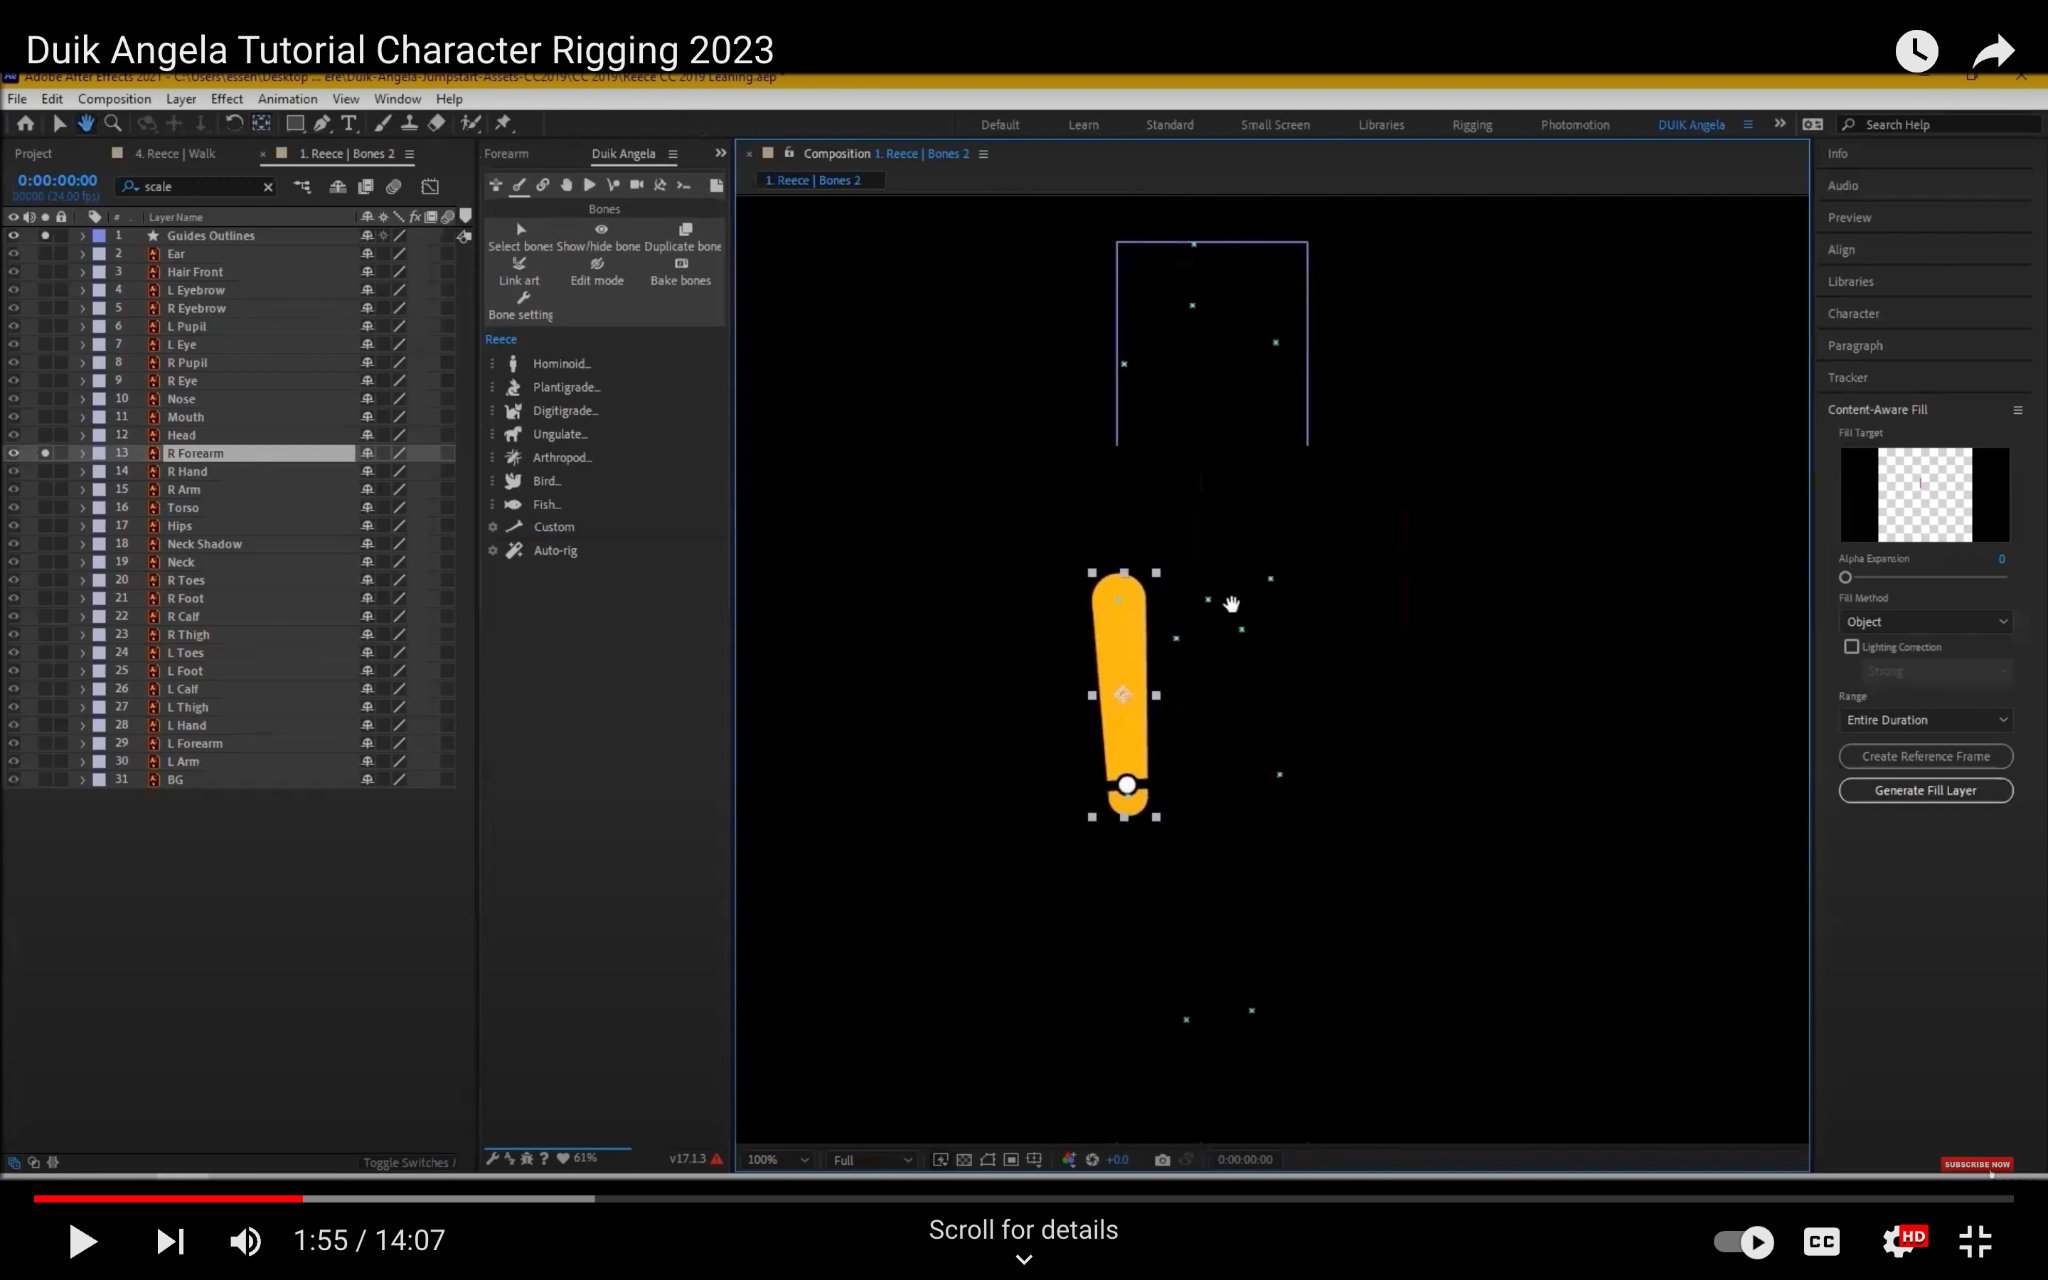
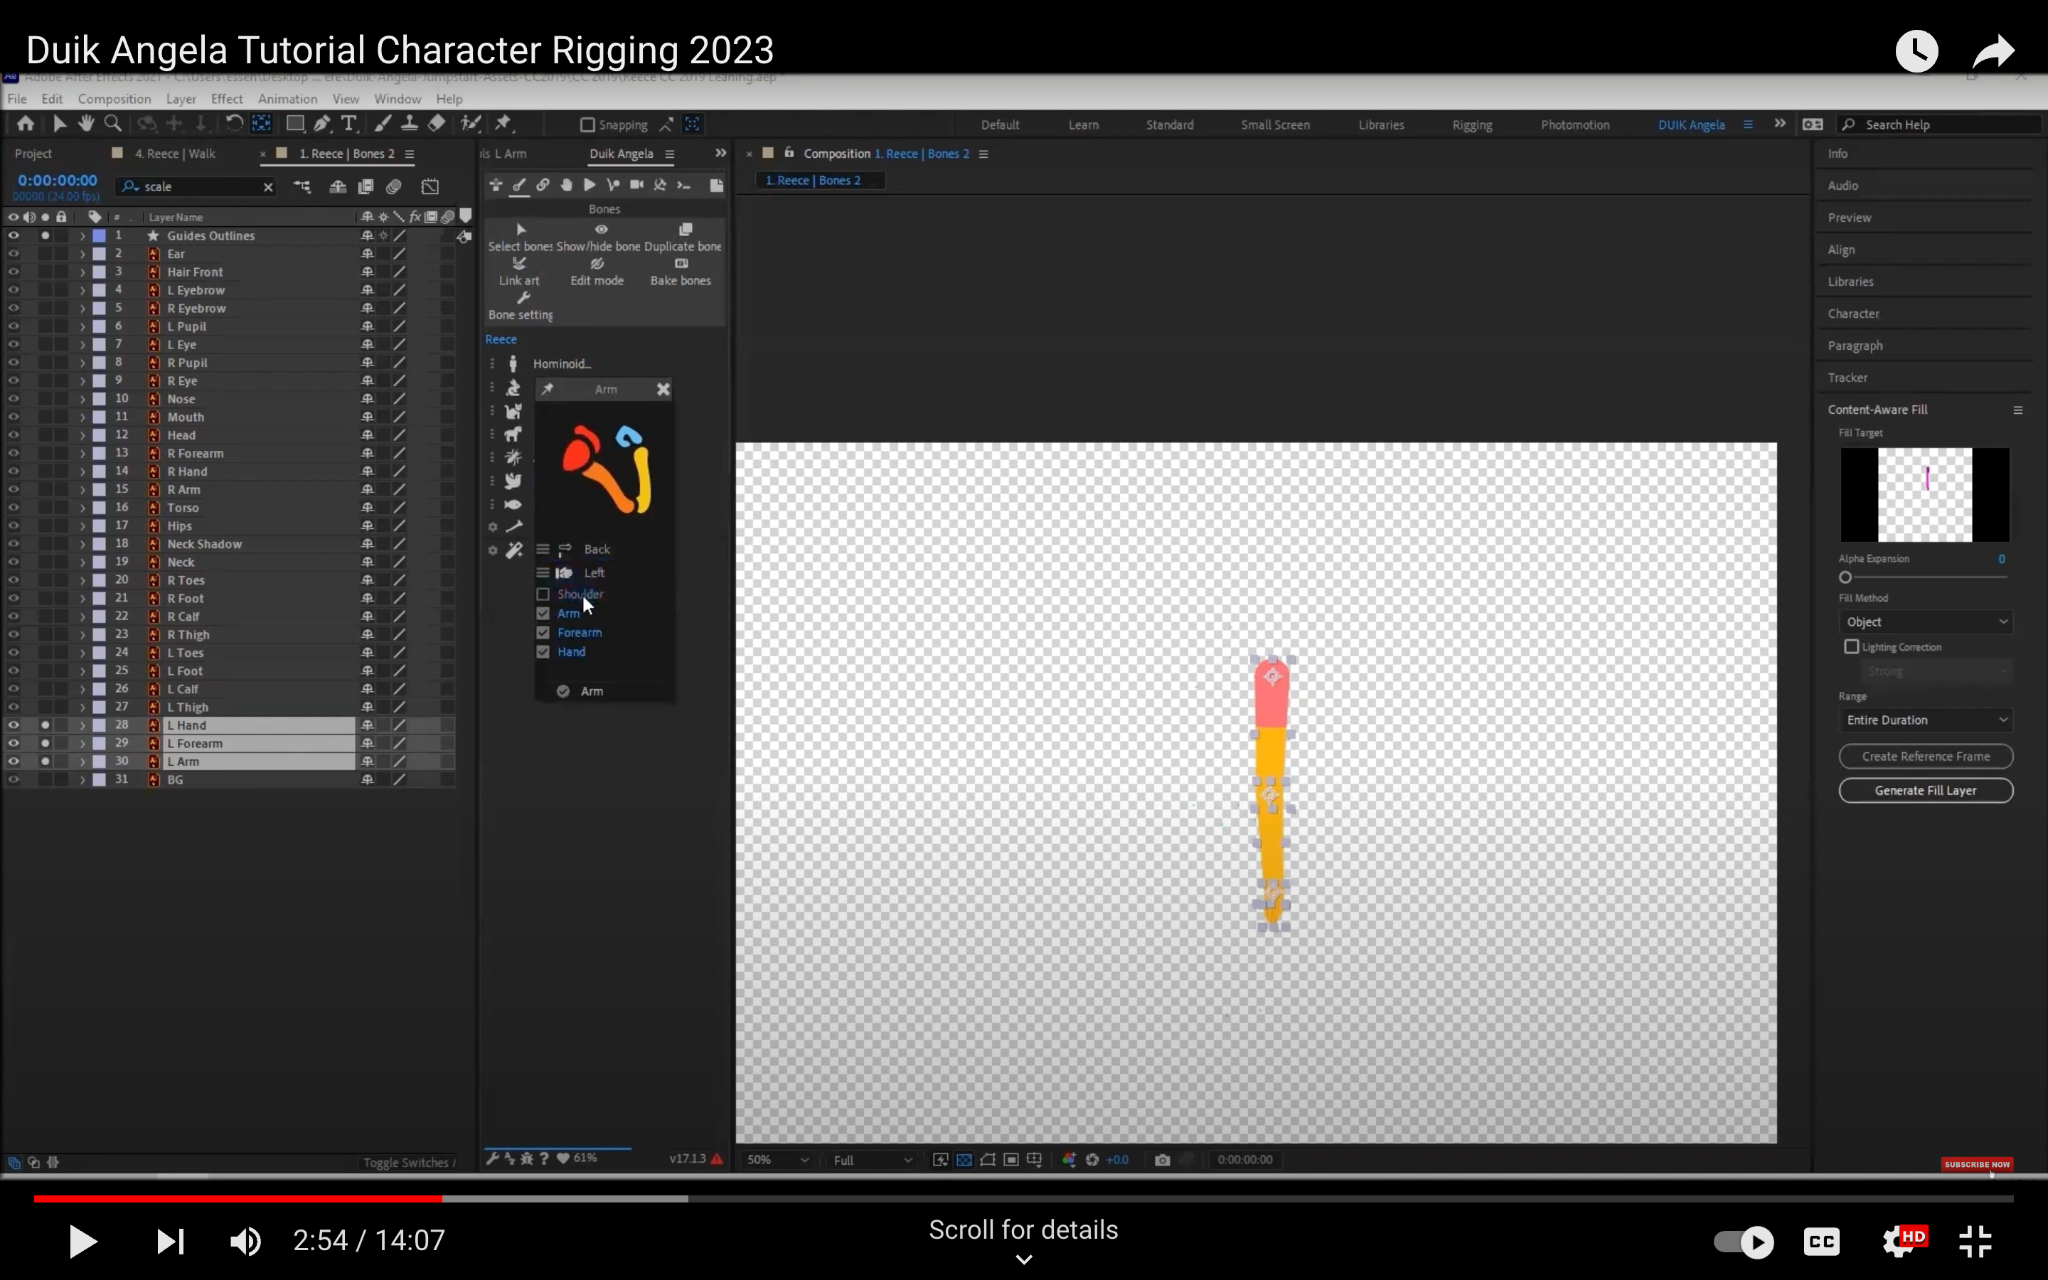
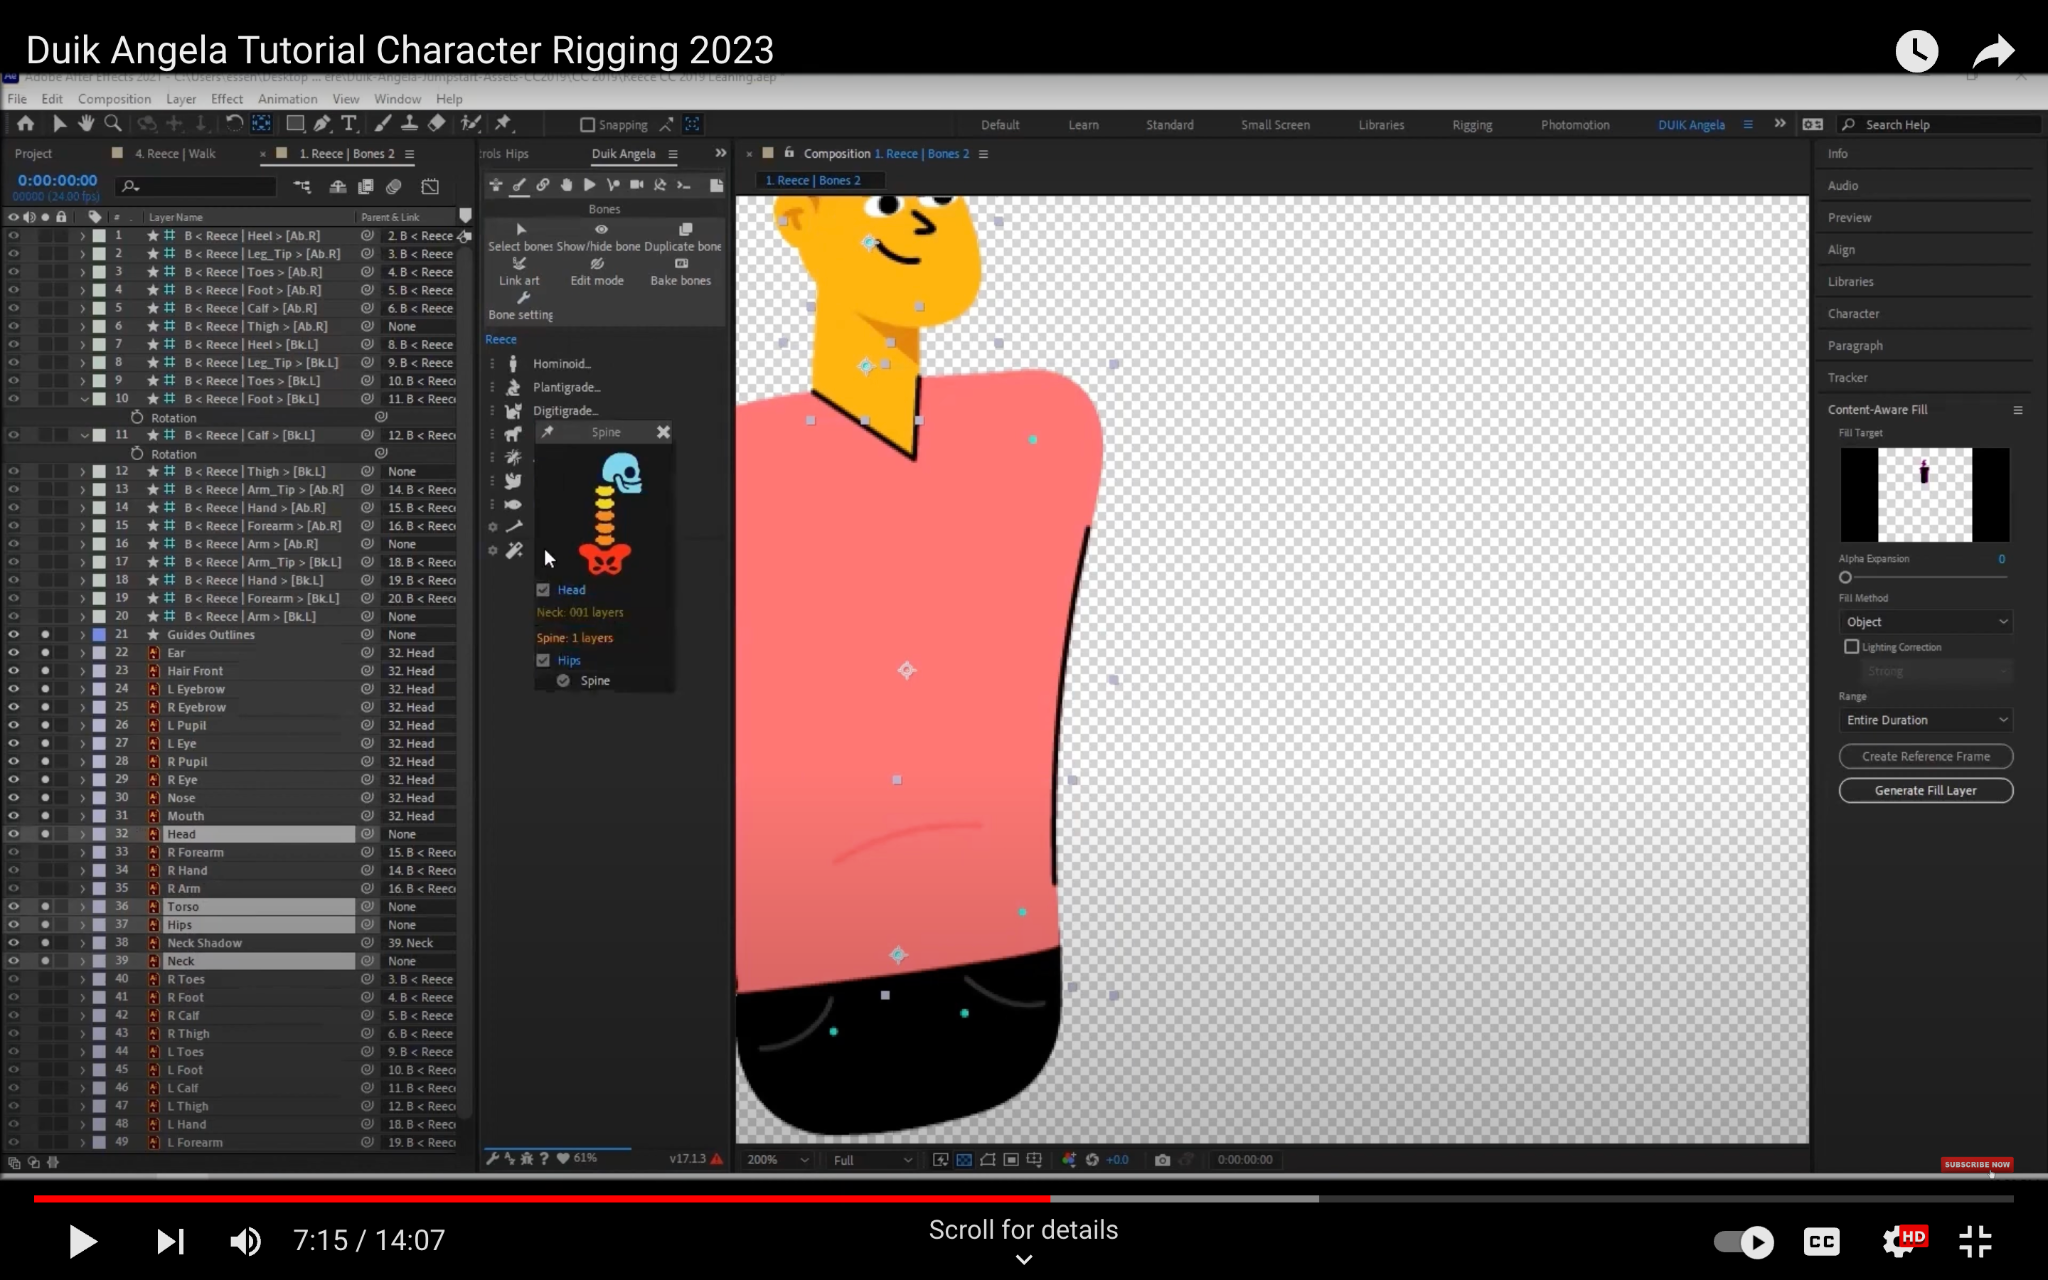
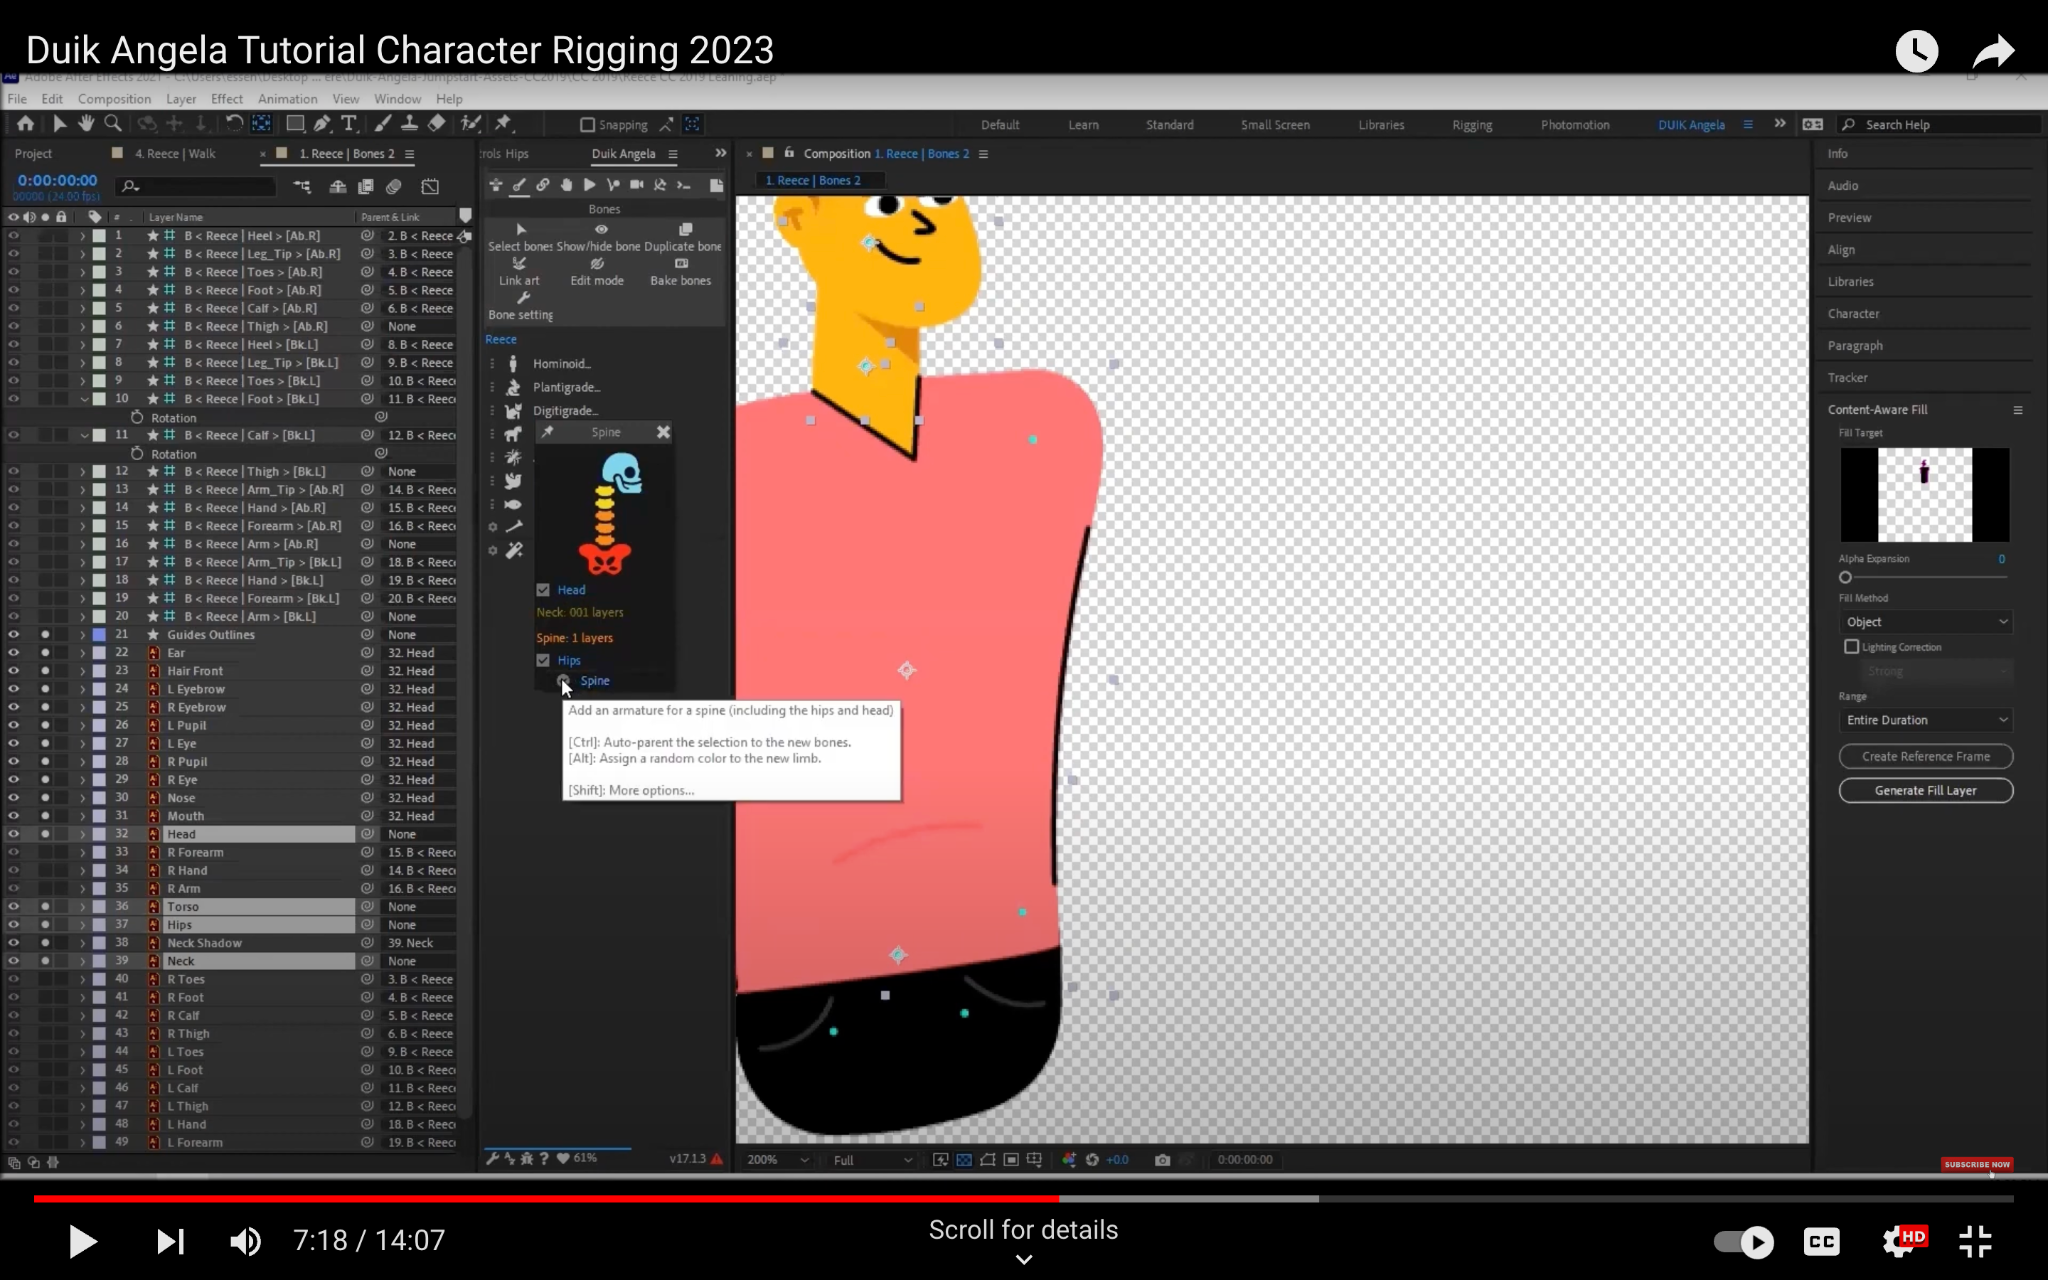
Step 3: Create your bones
The first step in rigging your character is to create the bones. To do this, follow these steps:
- Select the layers that you want to be bones.
- Go to the Bones panel and click the Create Bone button.
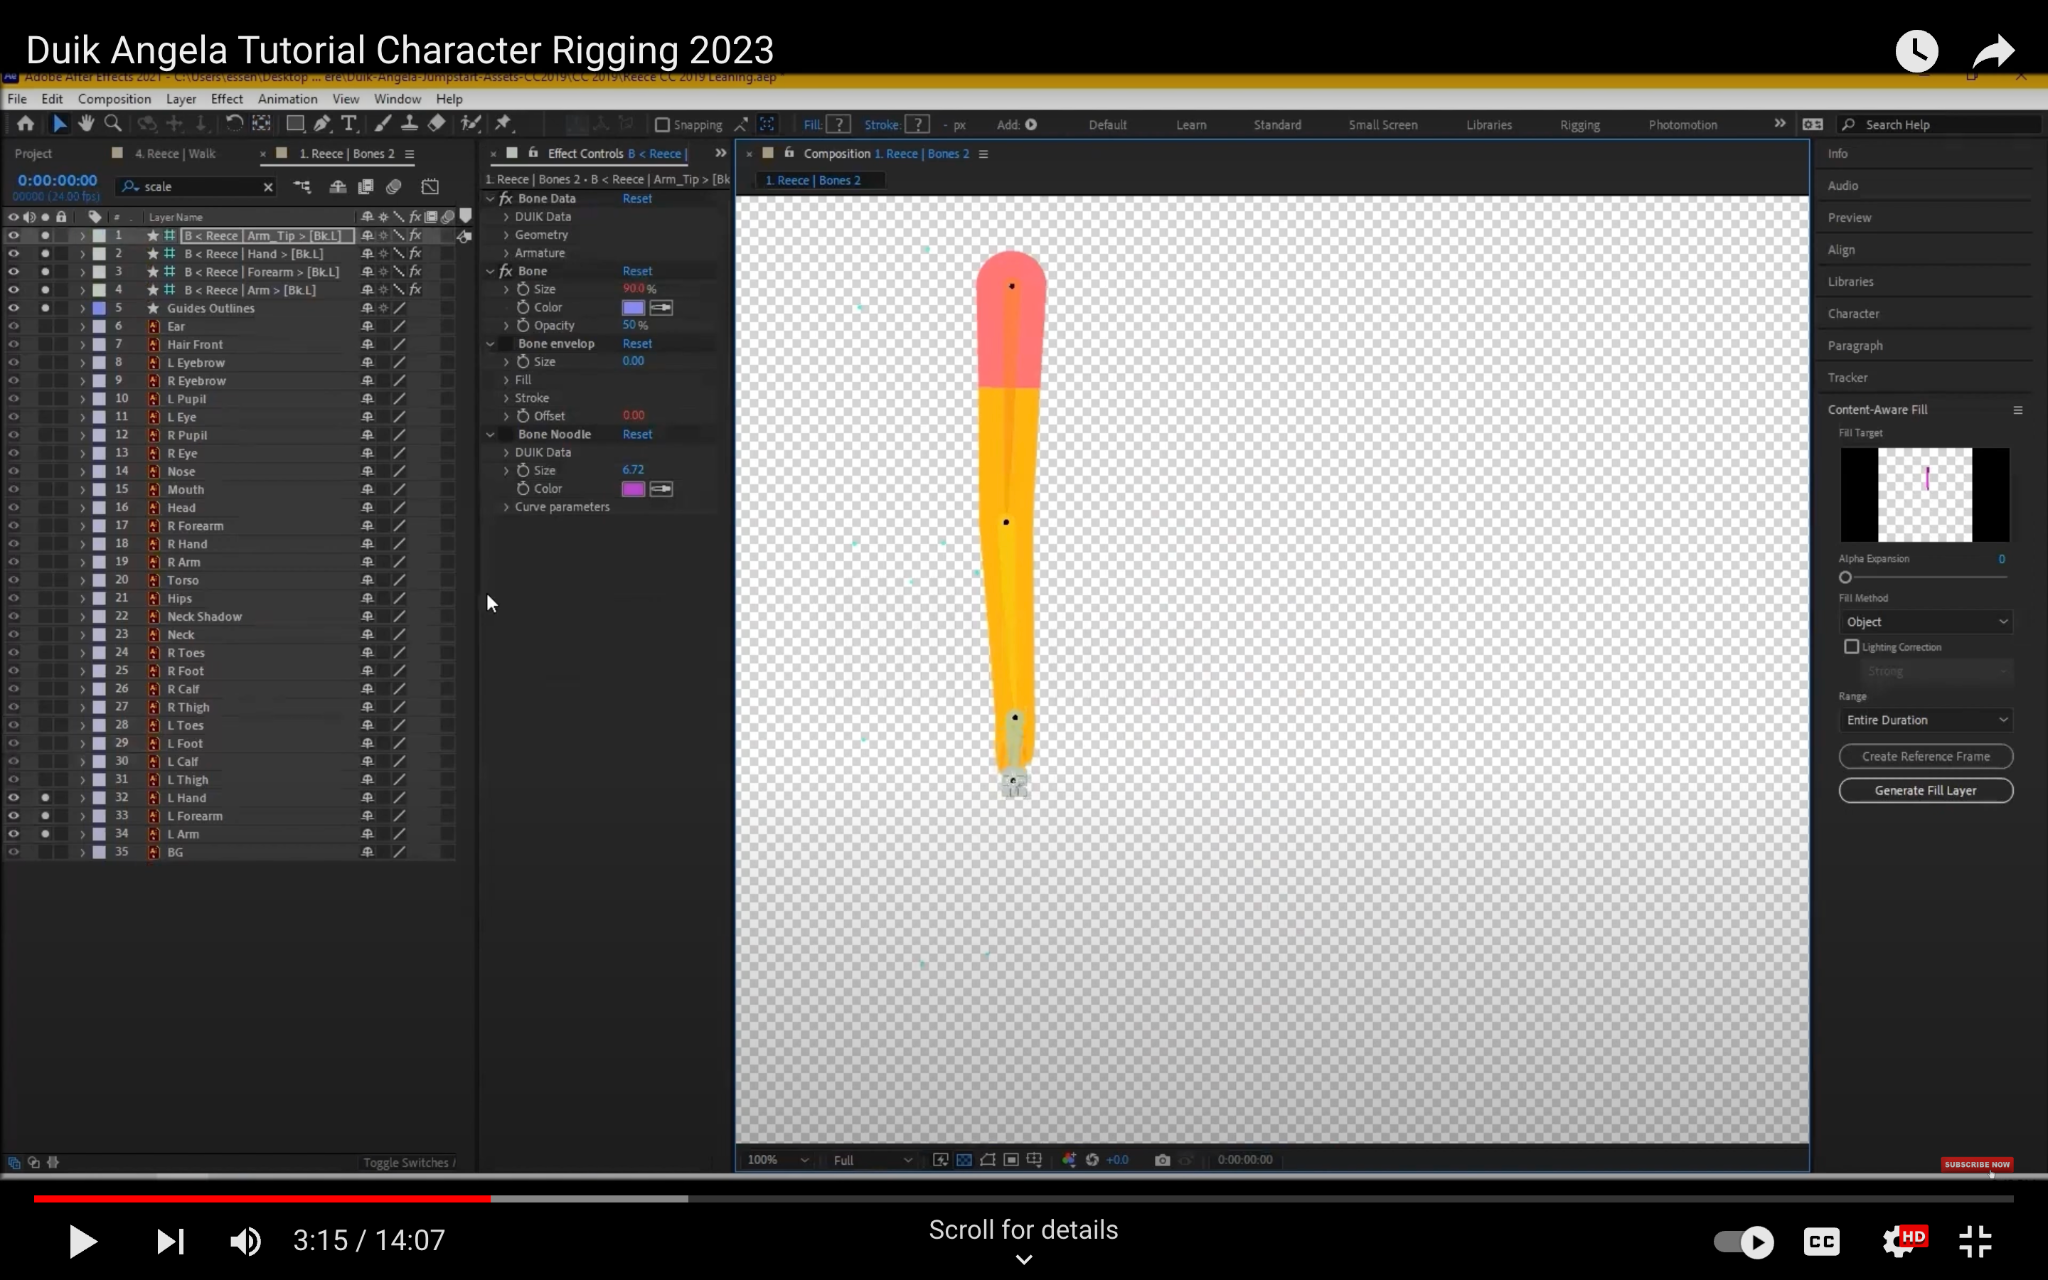
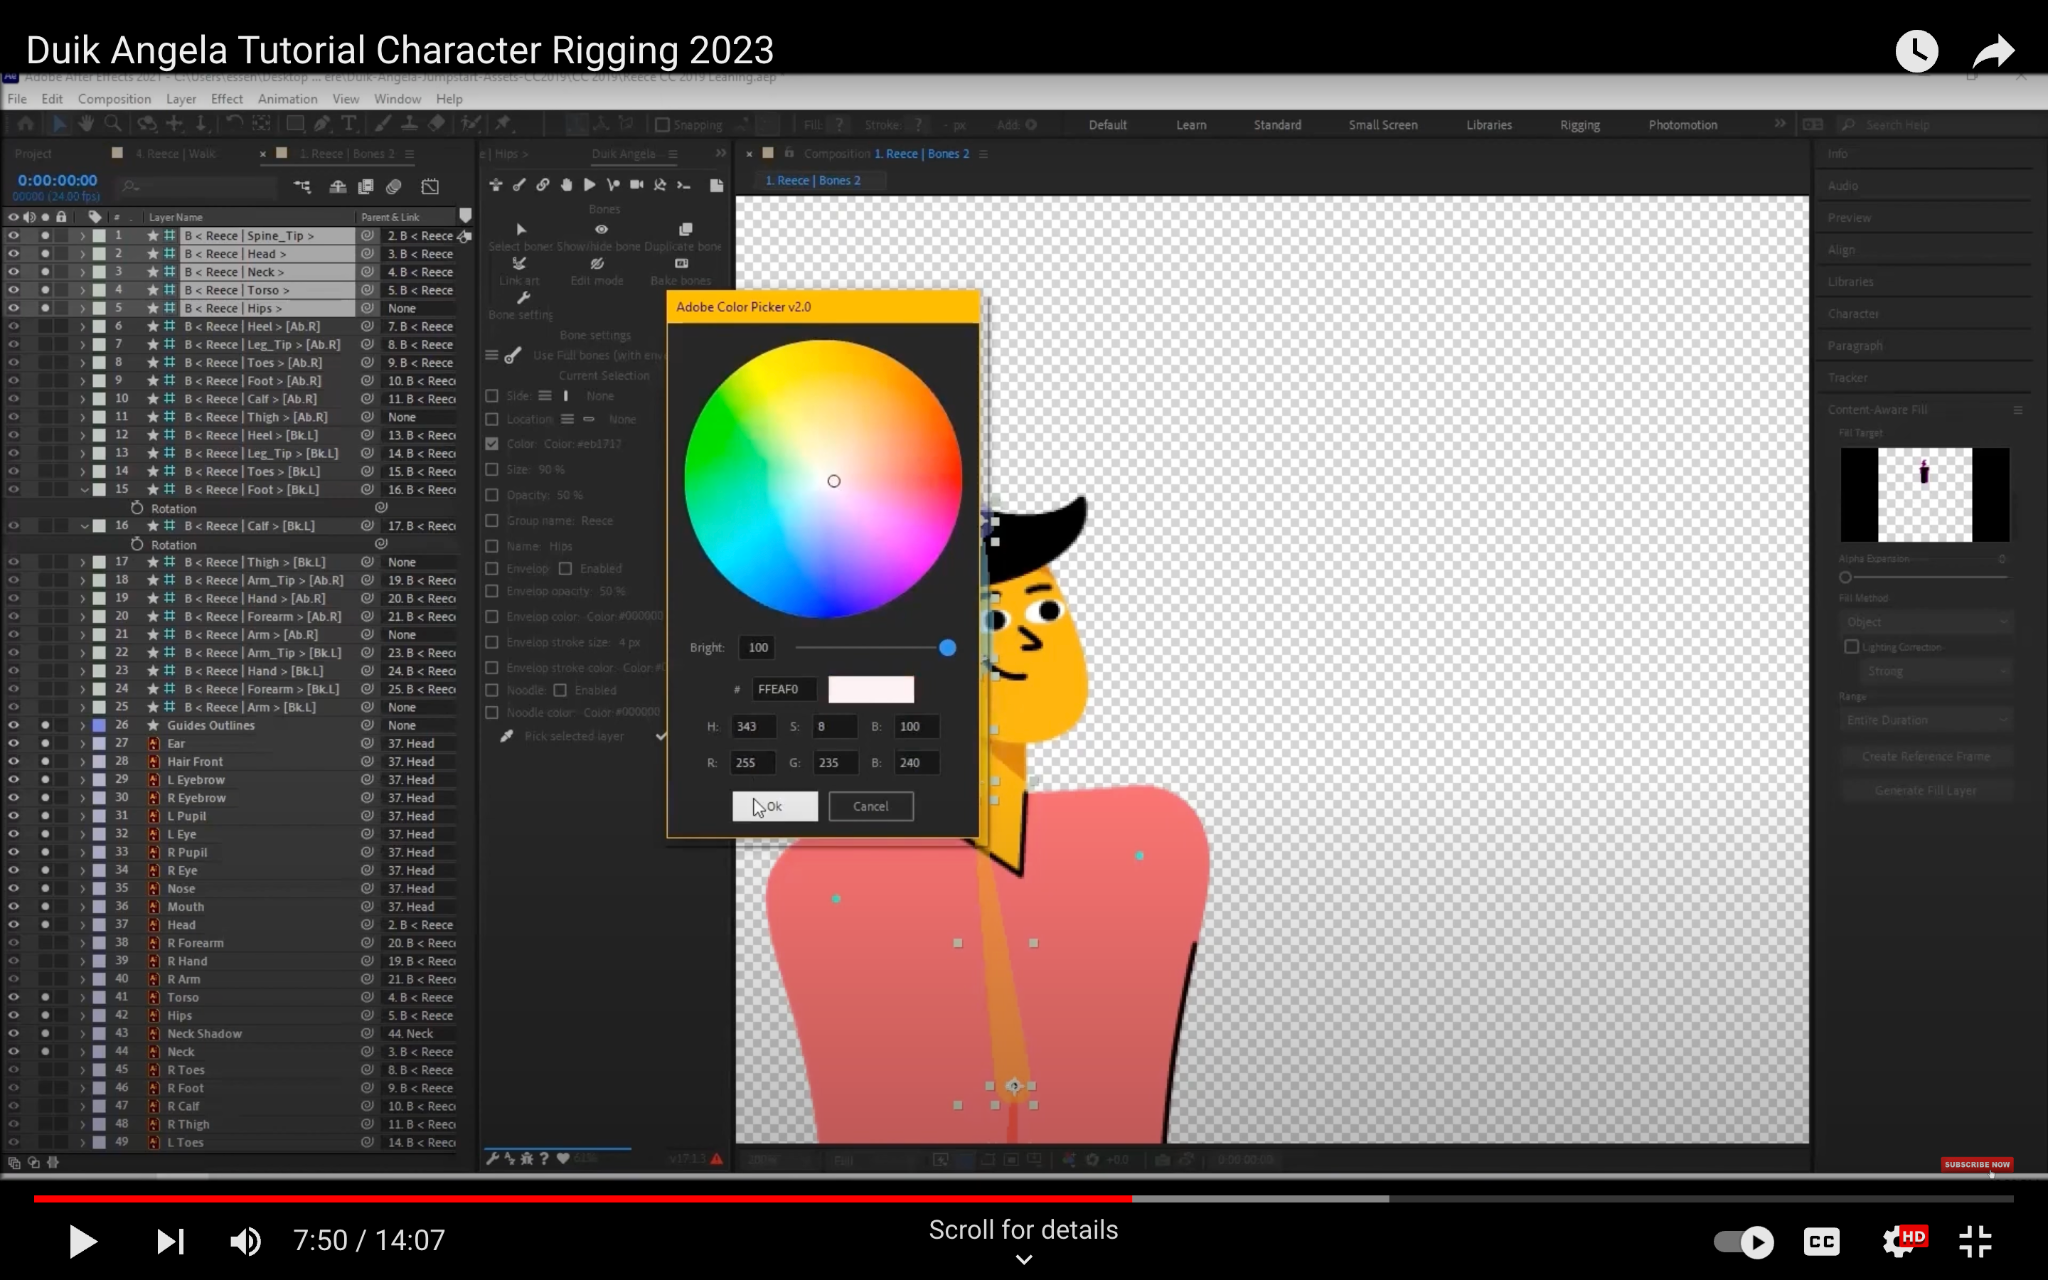
- In the Bone Properties dialog box, set the following options:
- Name: The name of the bone.
- Parent: The bone that this bone will be parented to.
- Length: The length of the bone.
- Thickness: The thickness of the bone.
- Color: The color of the bone.

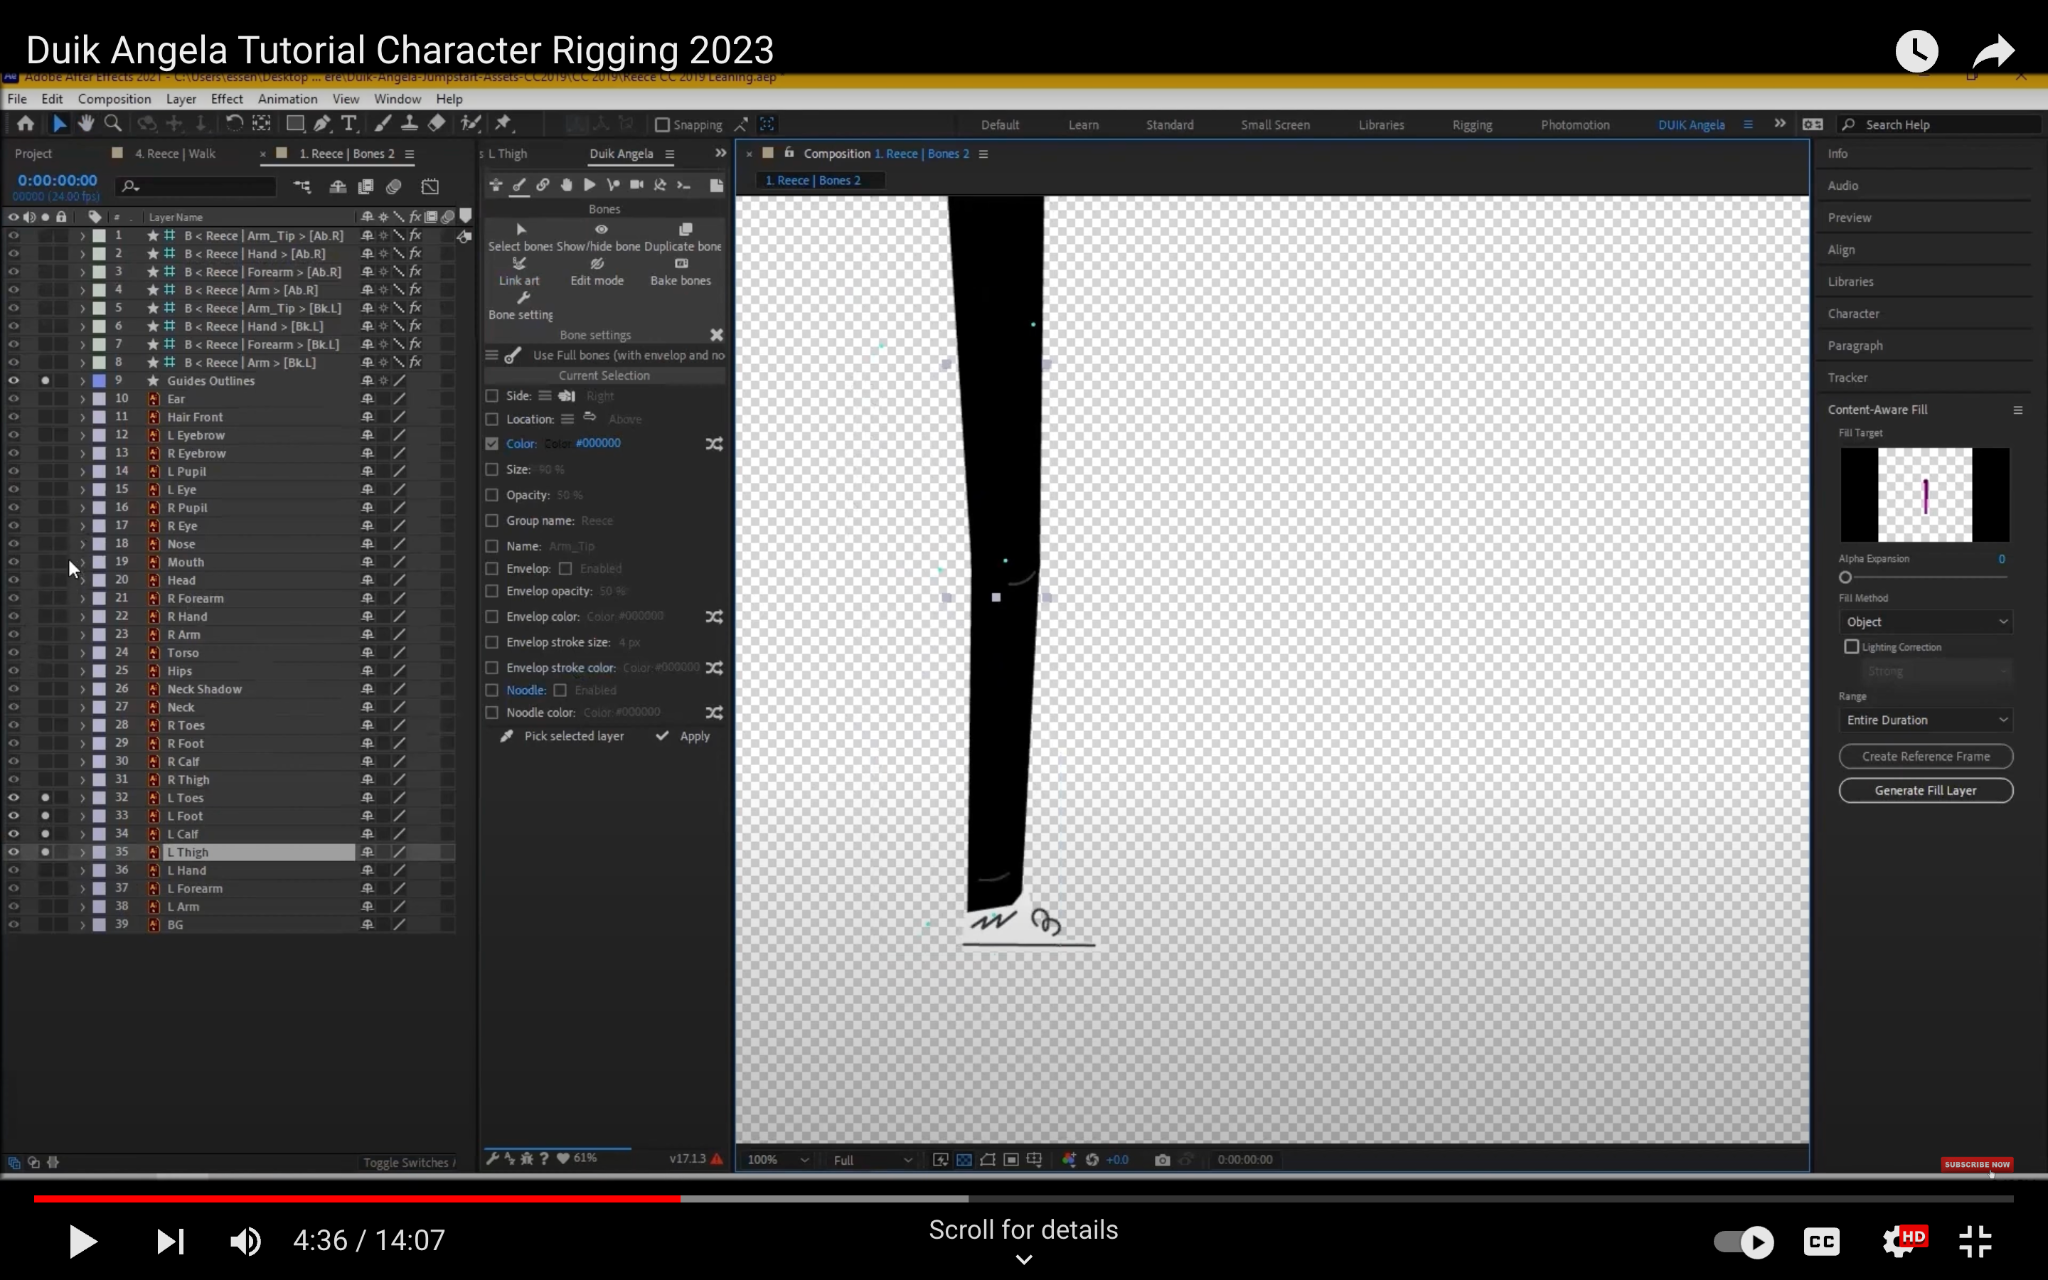
Step 4: Set the anchor points
The anchor point is the point around which the bone rotates. It is important to set the anchor points correctly so that the bones move in the desired way. To set the anchor points, follow these steps:
- Select the bone that you want to adjust.
- In the Bone Properties dialog box, click the Set Anchor Point button.
- Move the anchor point to the desired location.


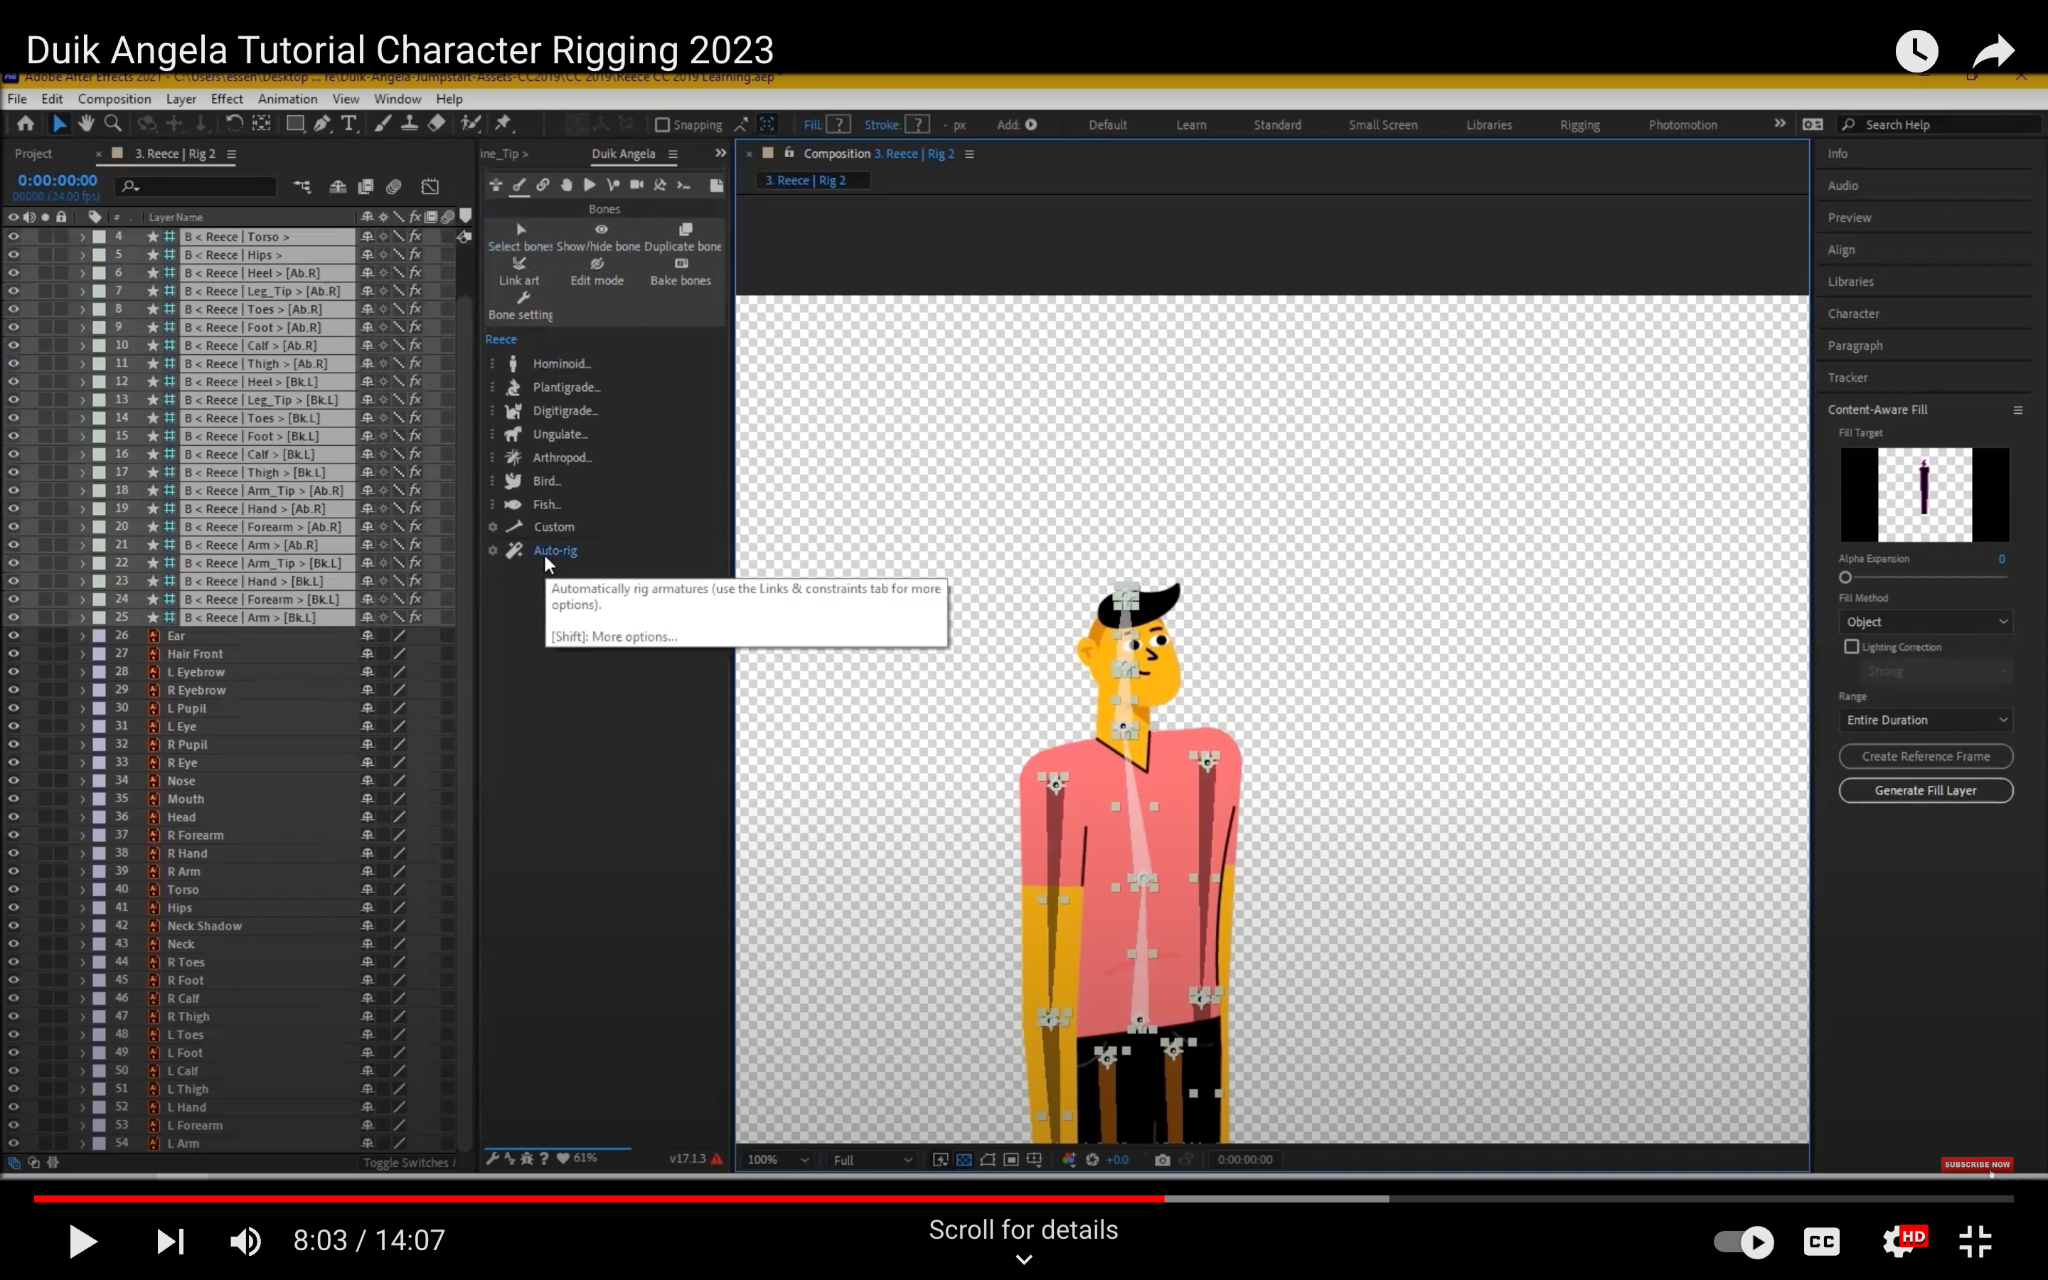
Step 5: Auto rig your character
Once you have created all of your bones, you can use the Auto Rig feature to automatically rig your character. To do this, follow these steps:
- Select all of the bones in your character.
- Go to the Angela Properties panel and click the Auto Rig button.
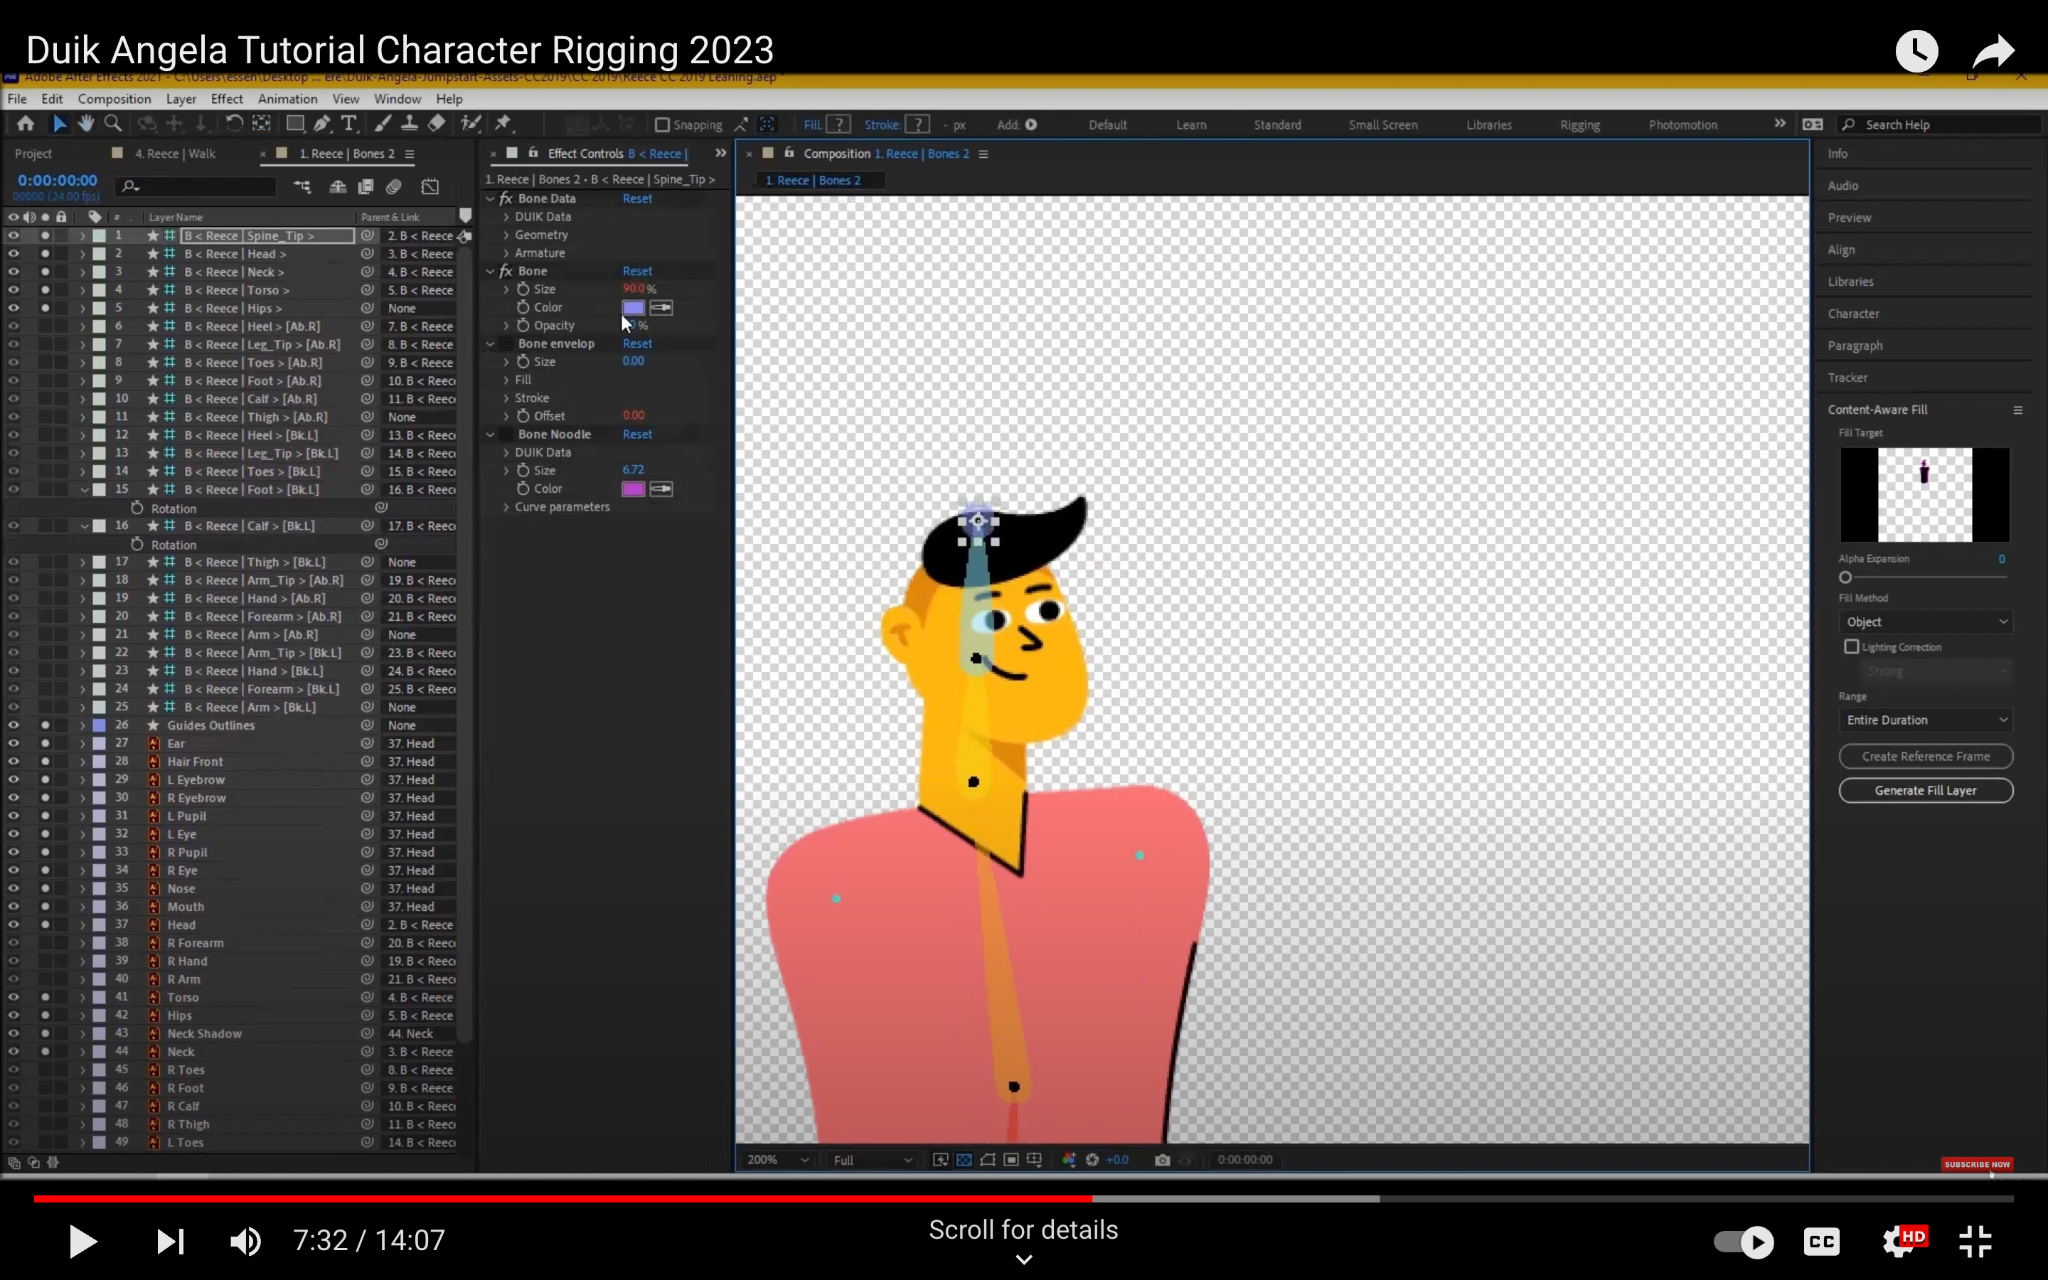
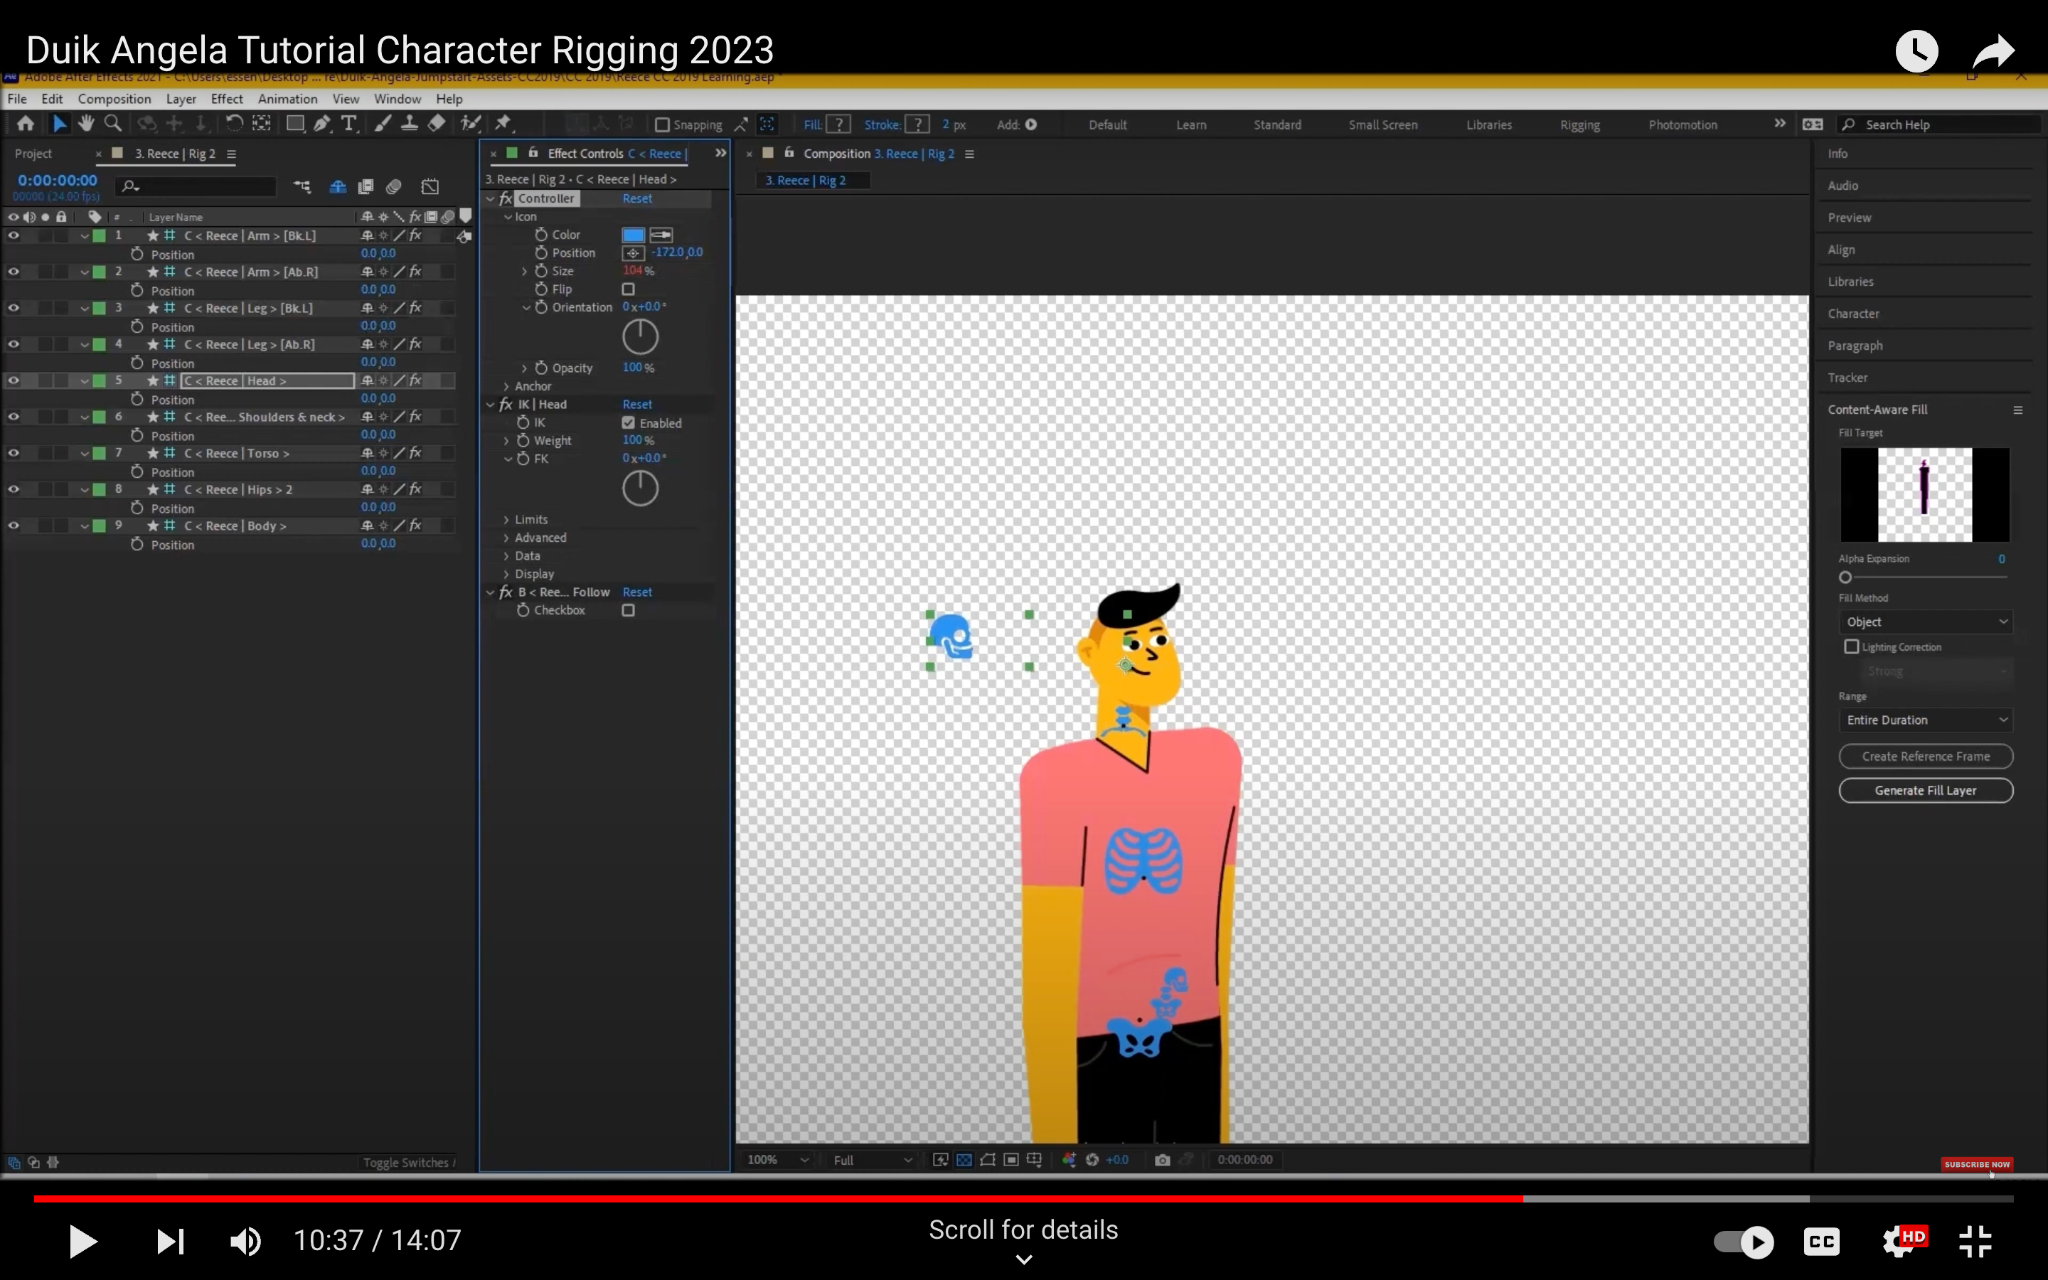
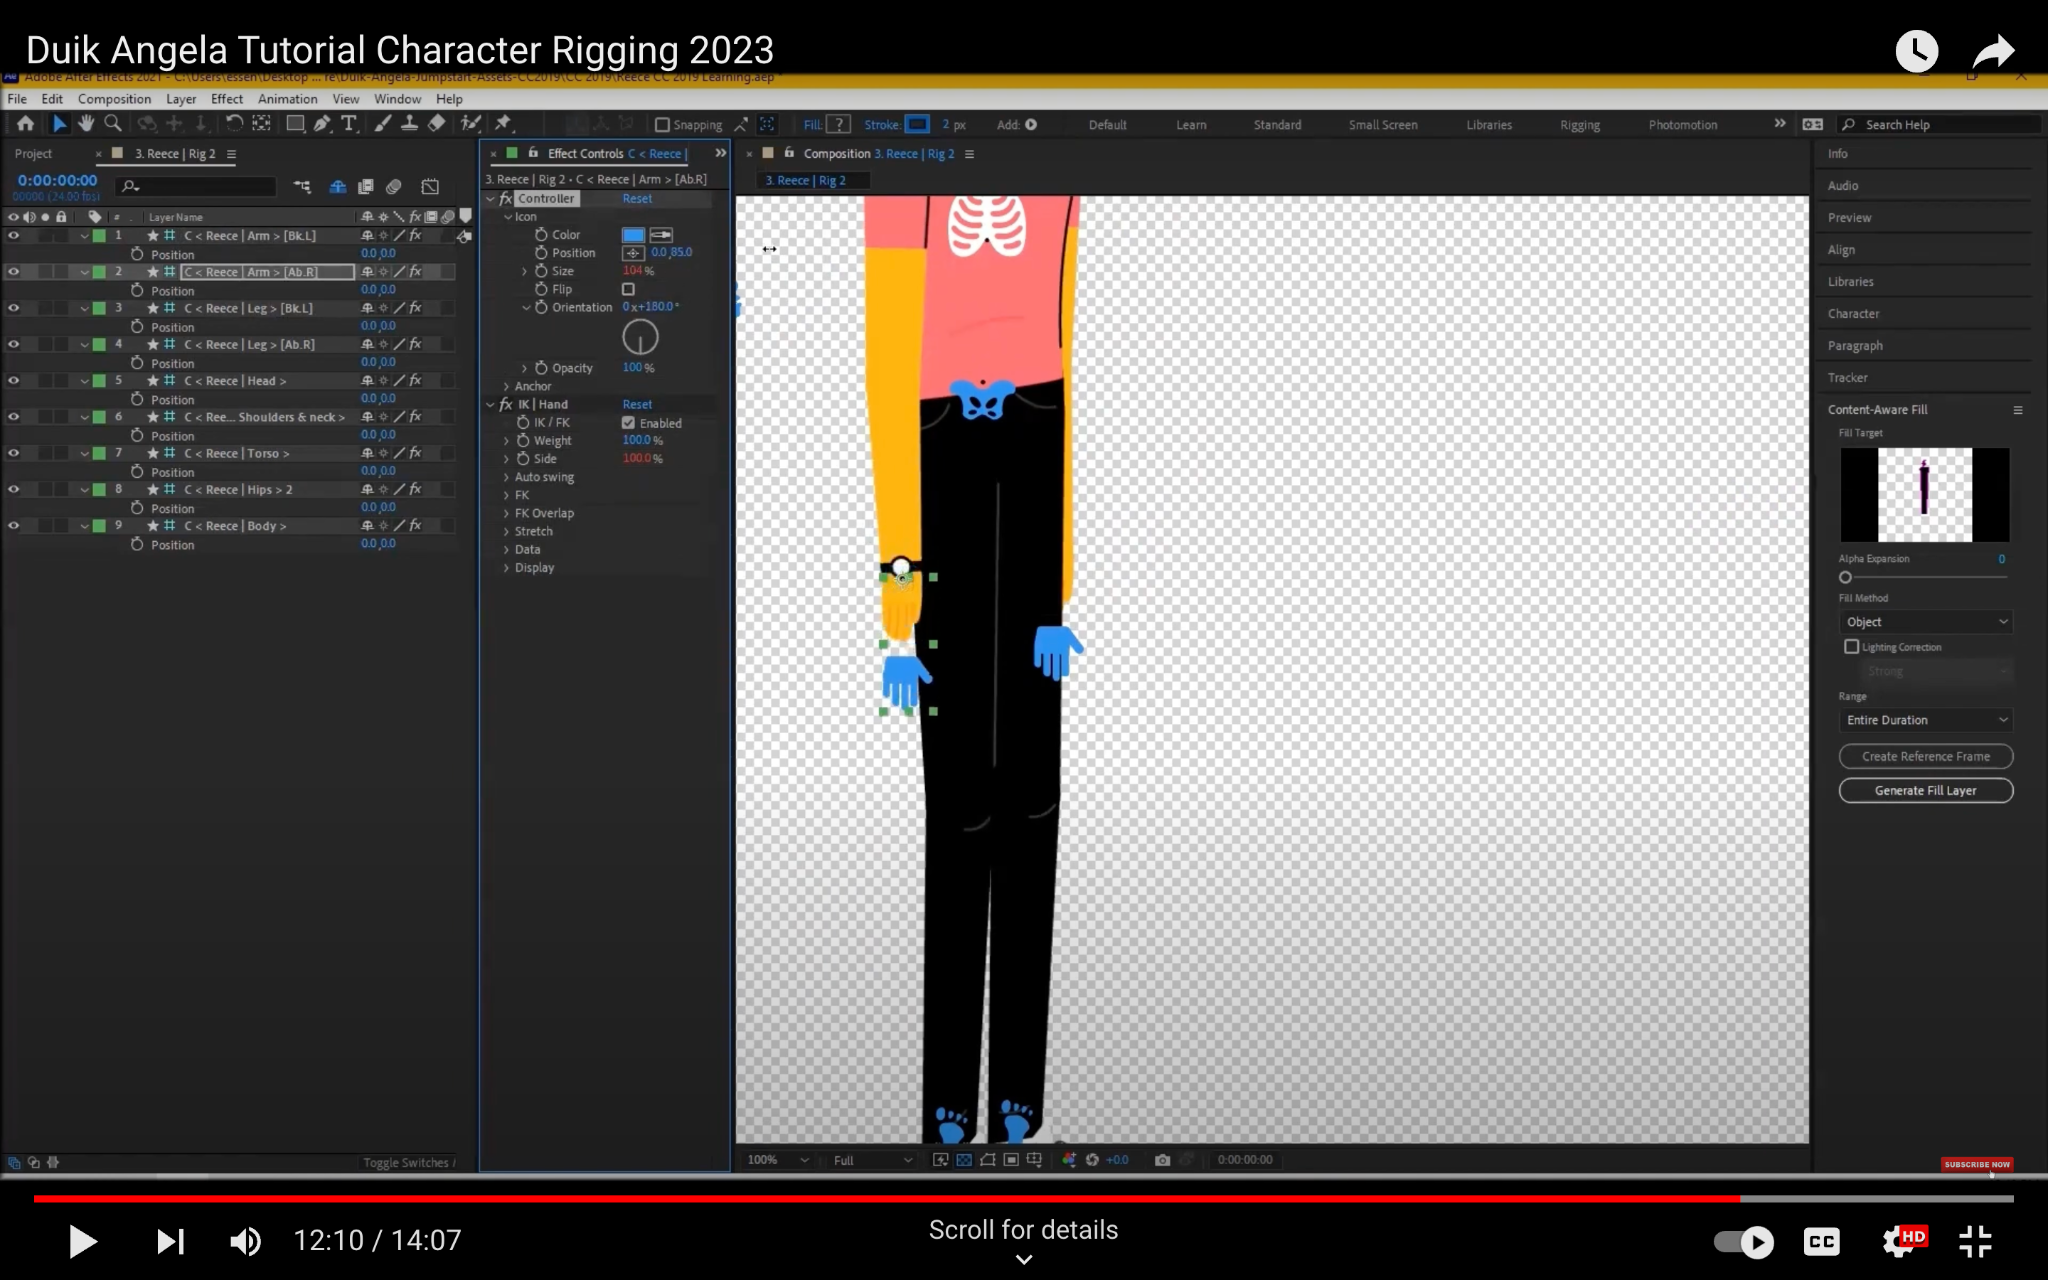
Step 6: Adjust the controllers
The controllers are the handles that you use to control the movement of the bones. By default, the controllers are placed in the center of the bones. However, you may want to adjust the position of the controllers so that they are easier to use. To adjust the controllers, follow these steps:
- Select the controller that you want to adjust.
- Move the controller to the desired location.
- You can also change the size of the controller by typing in the Size property in the Bone Properties dialog box.

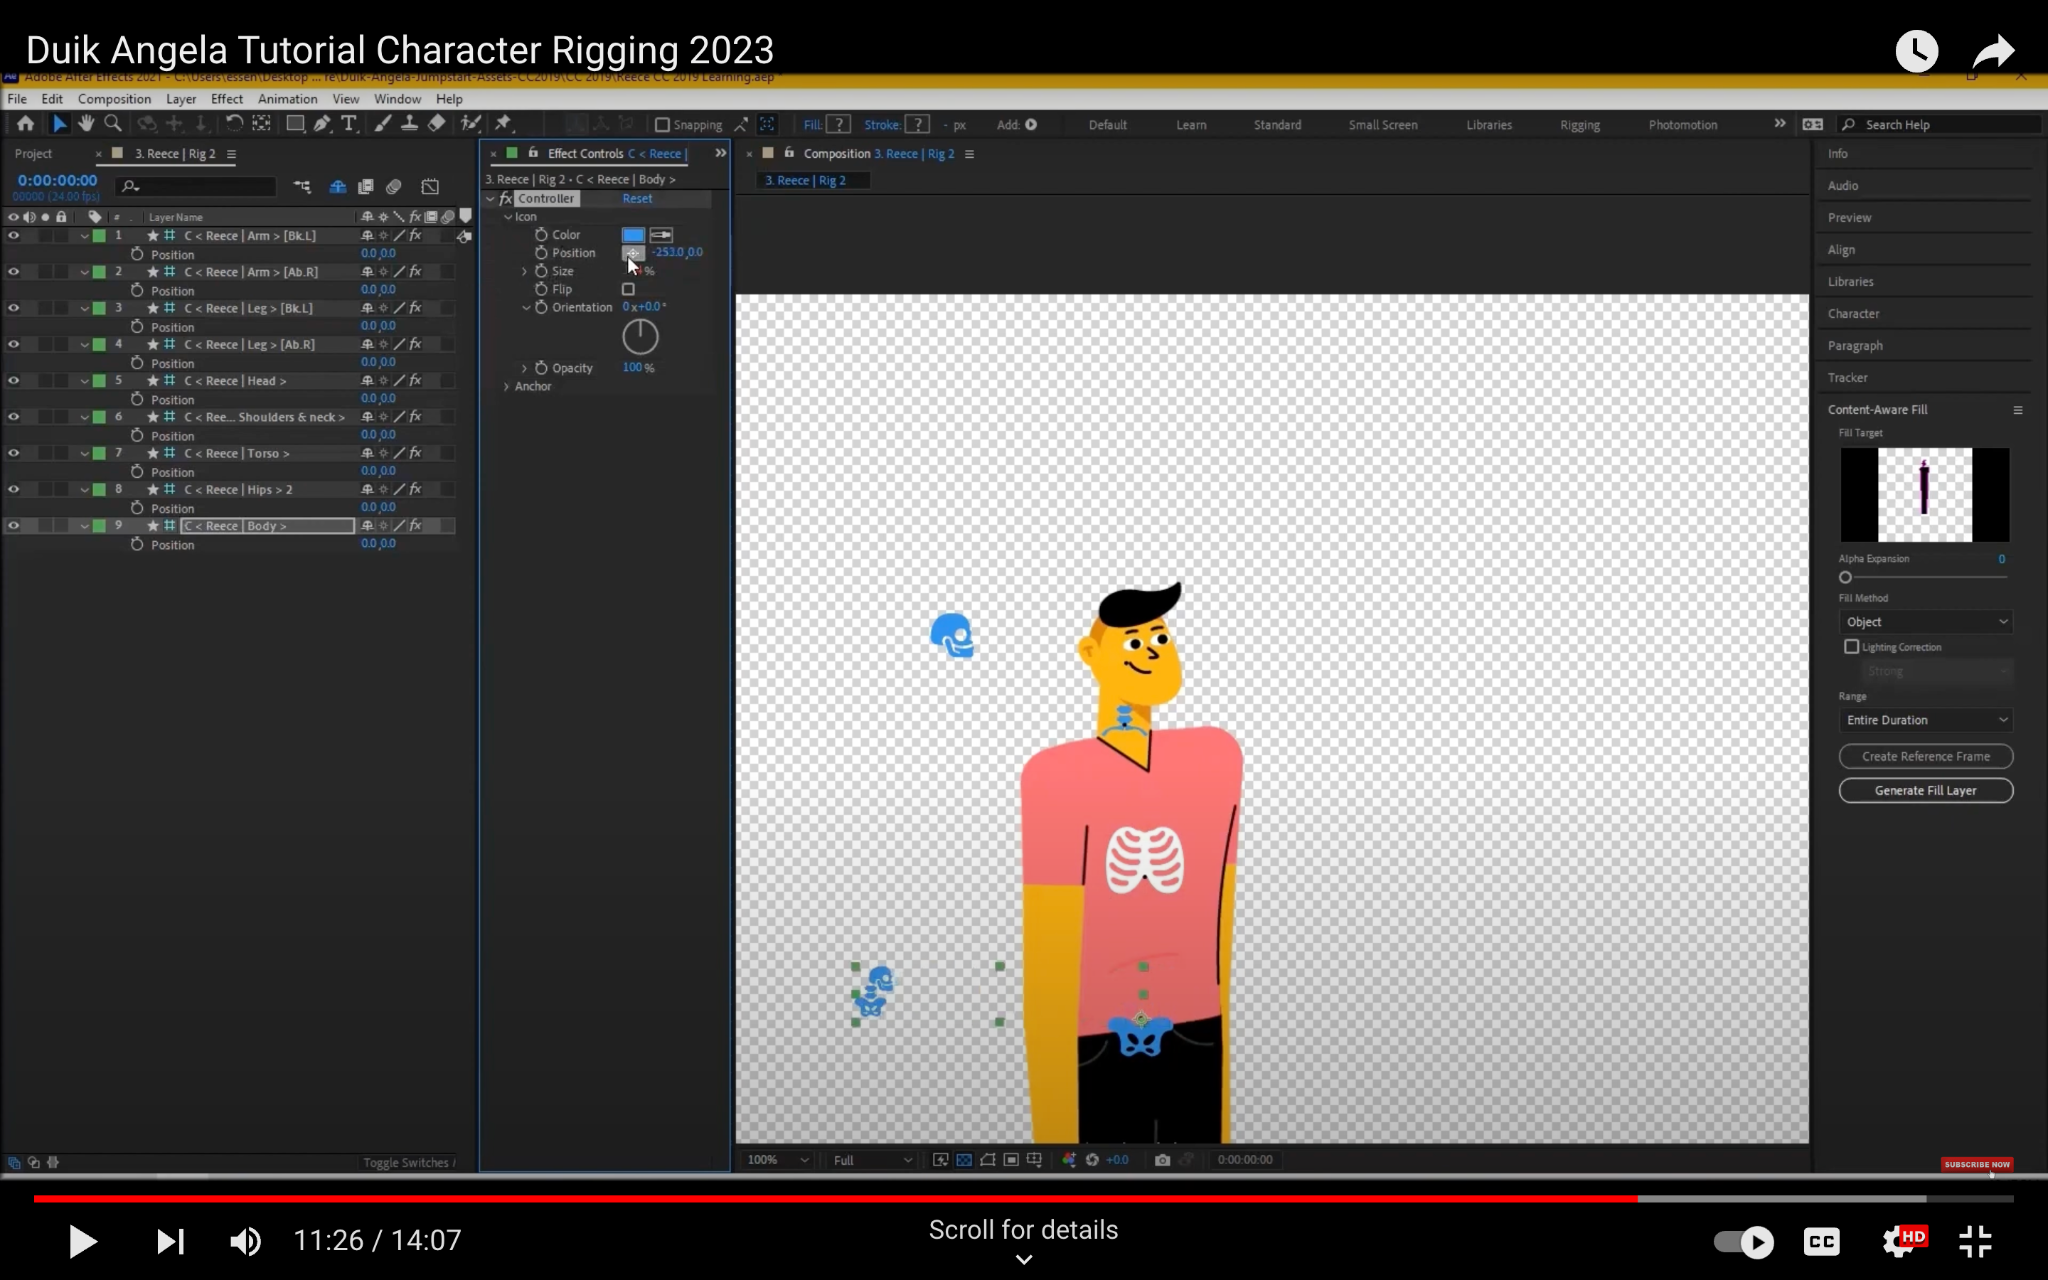

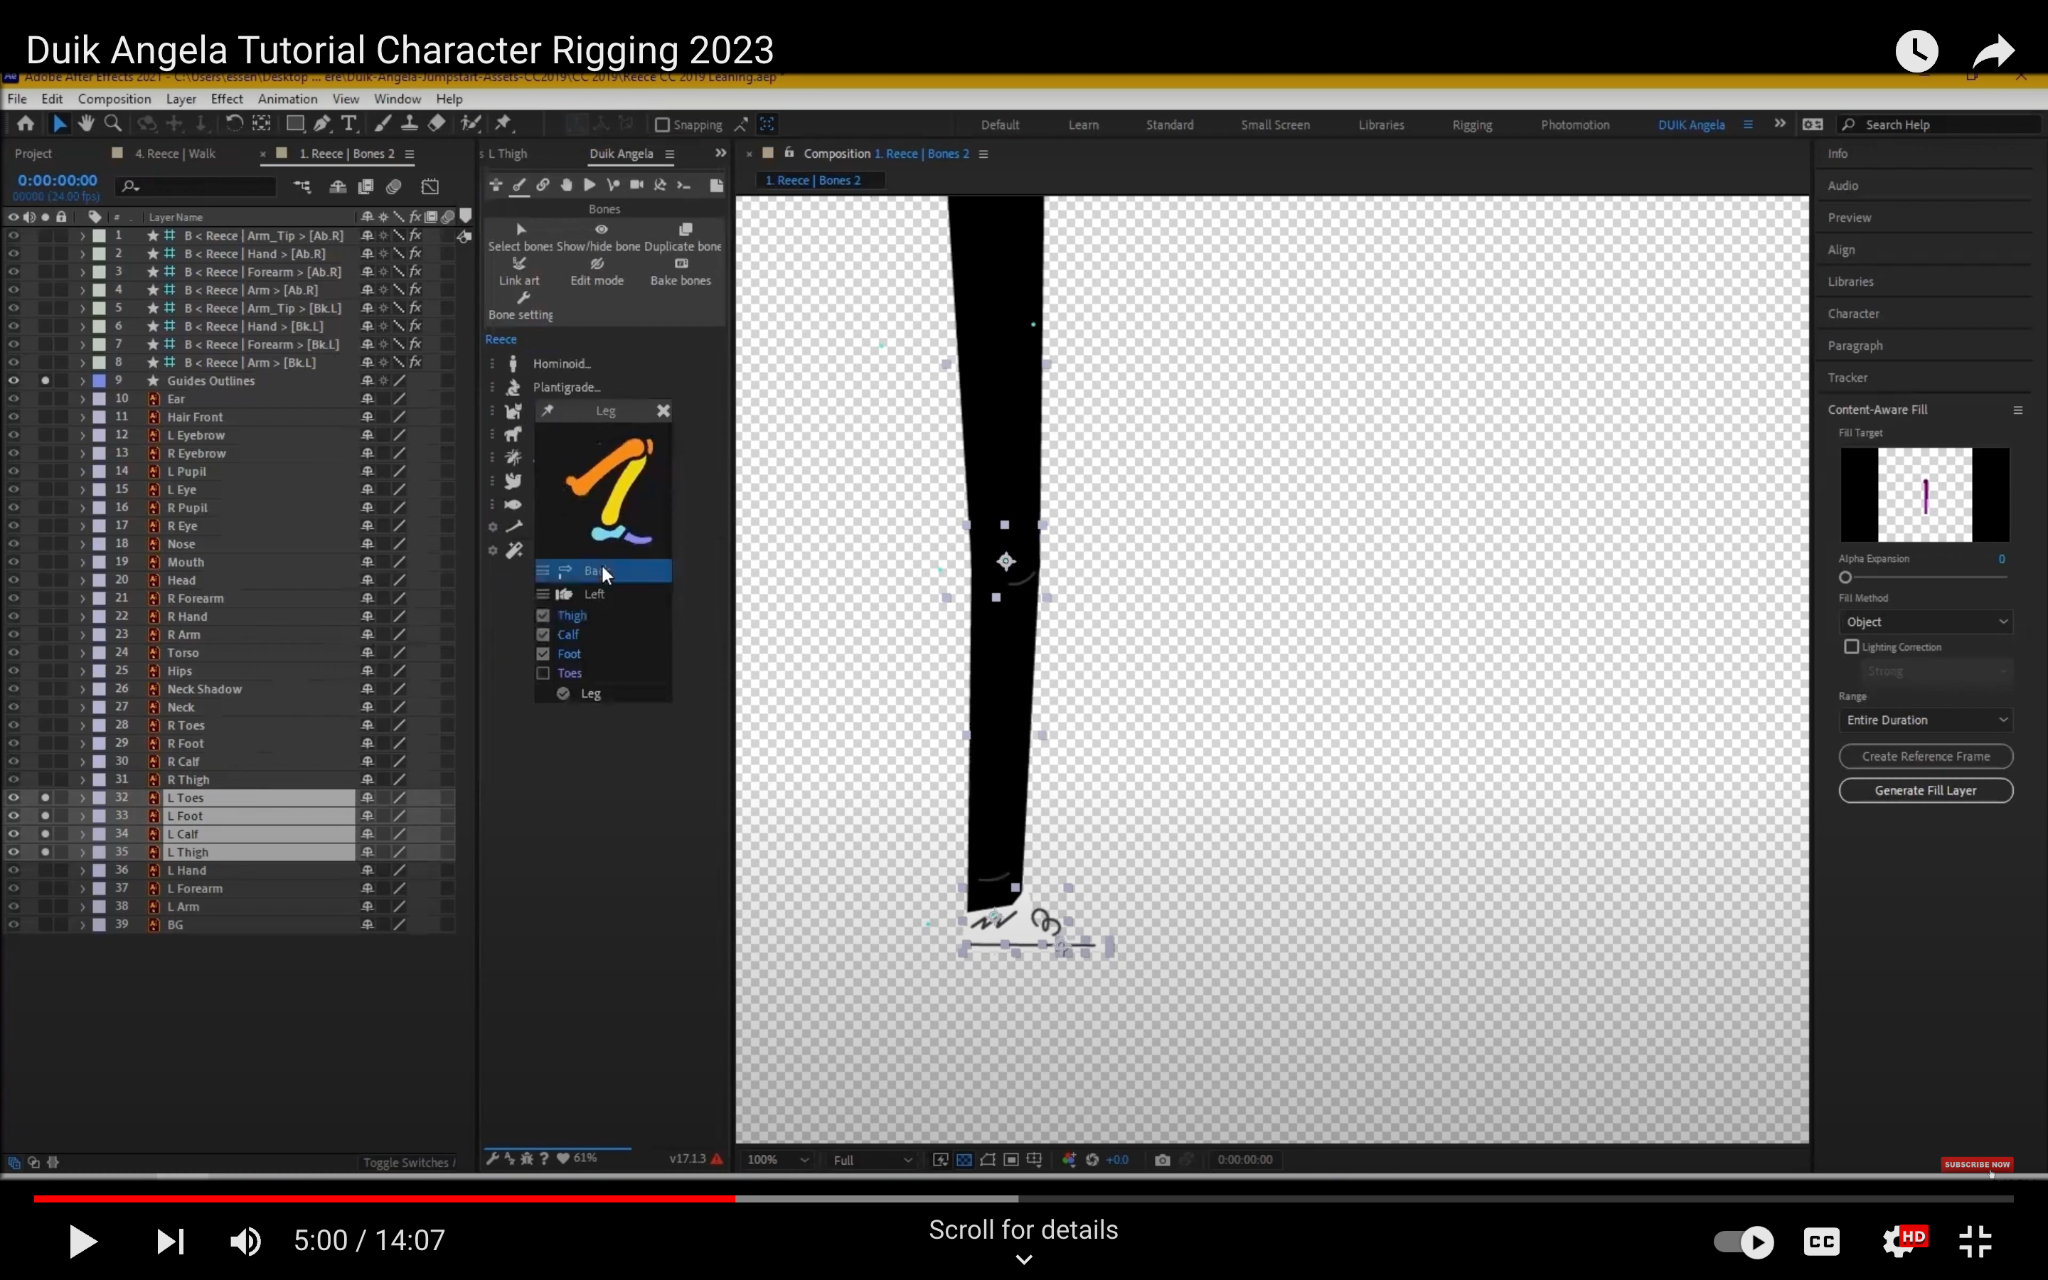
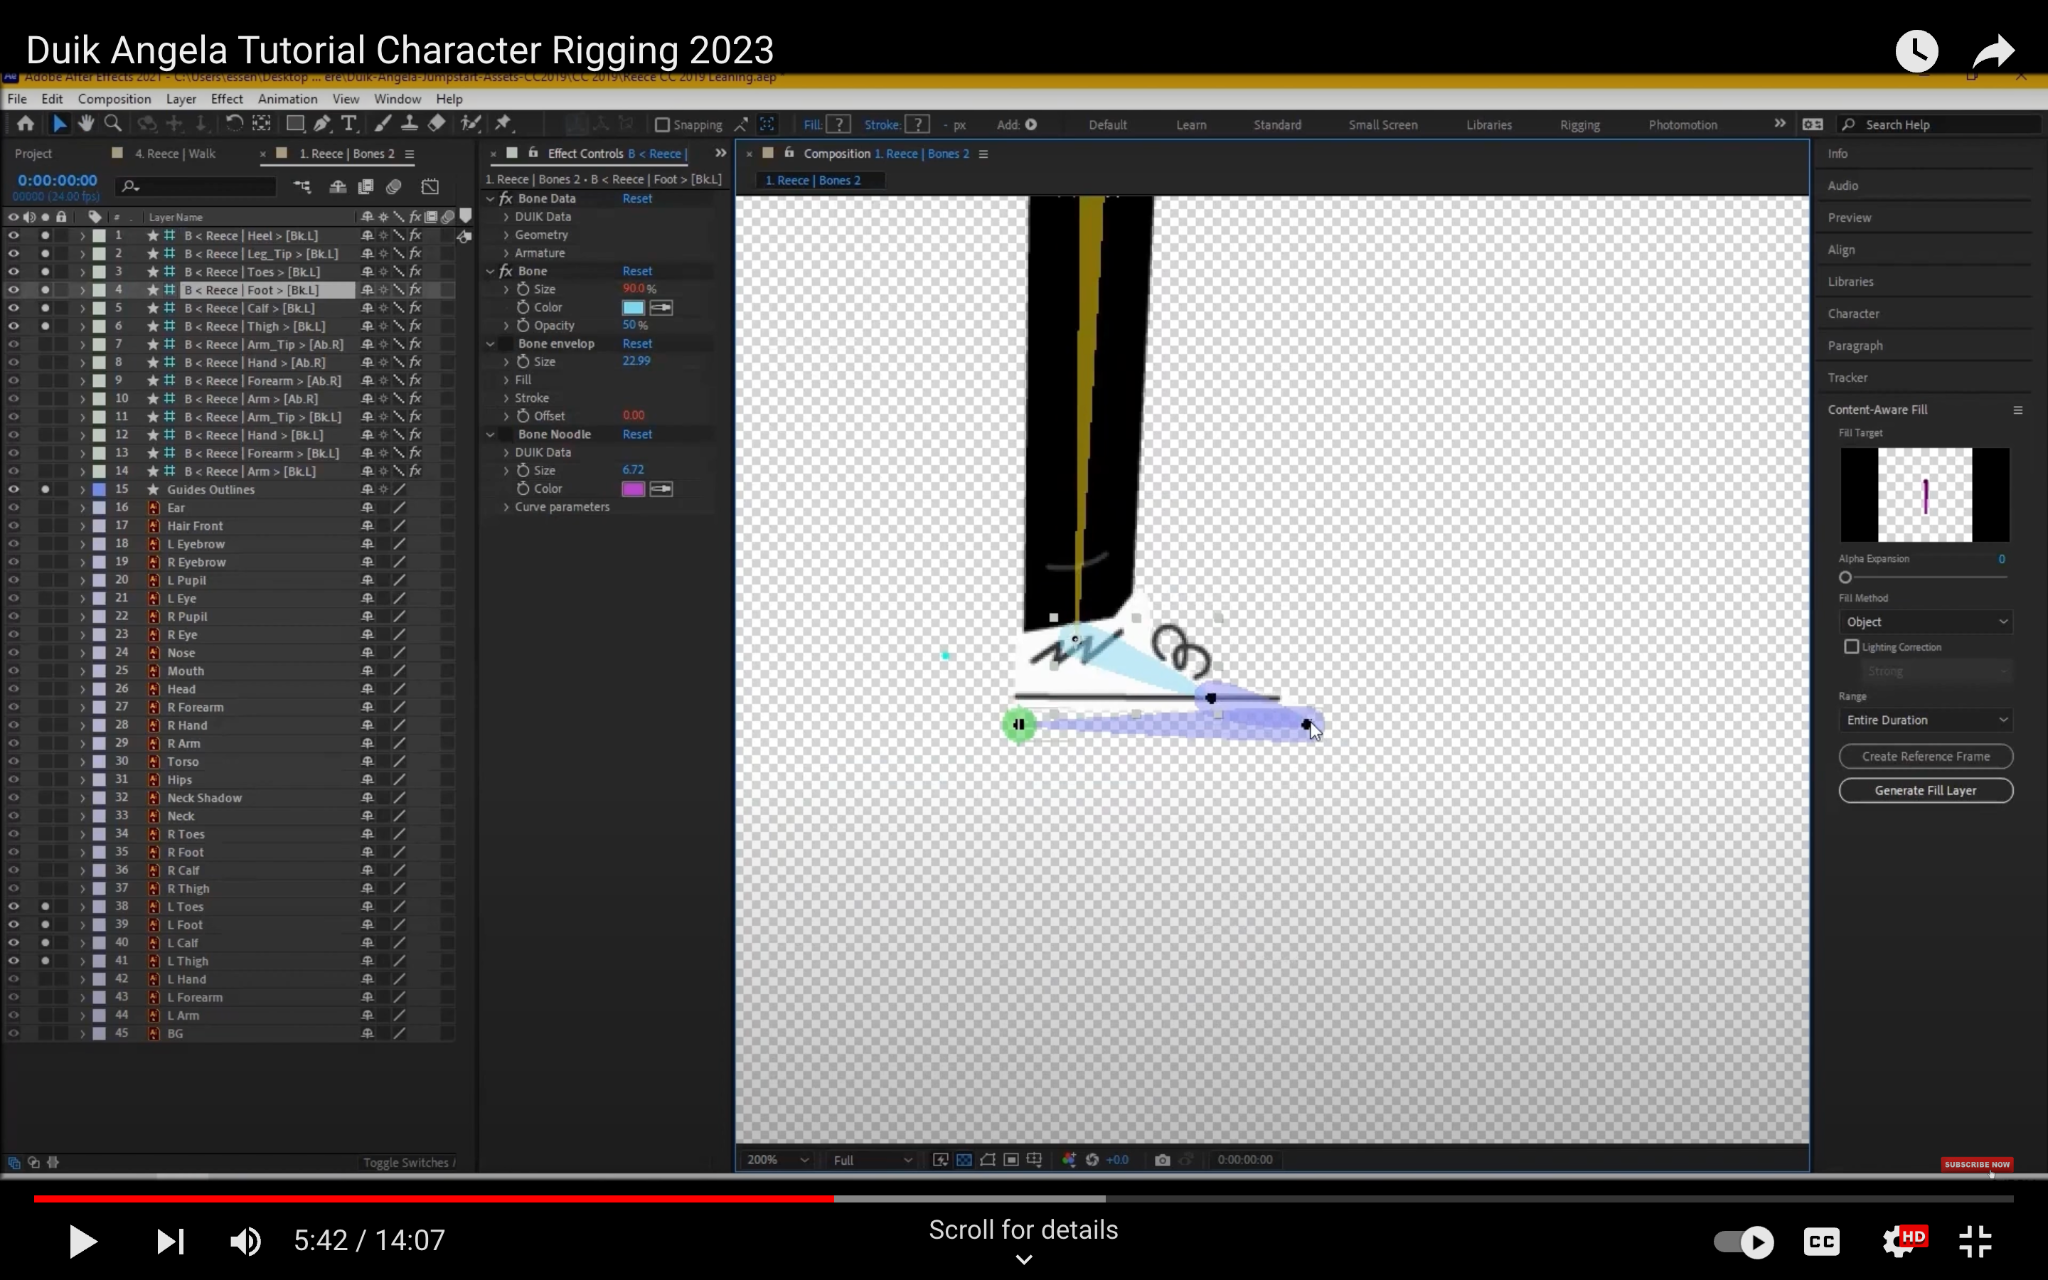
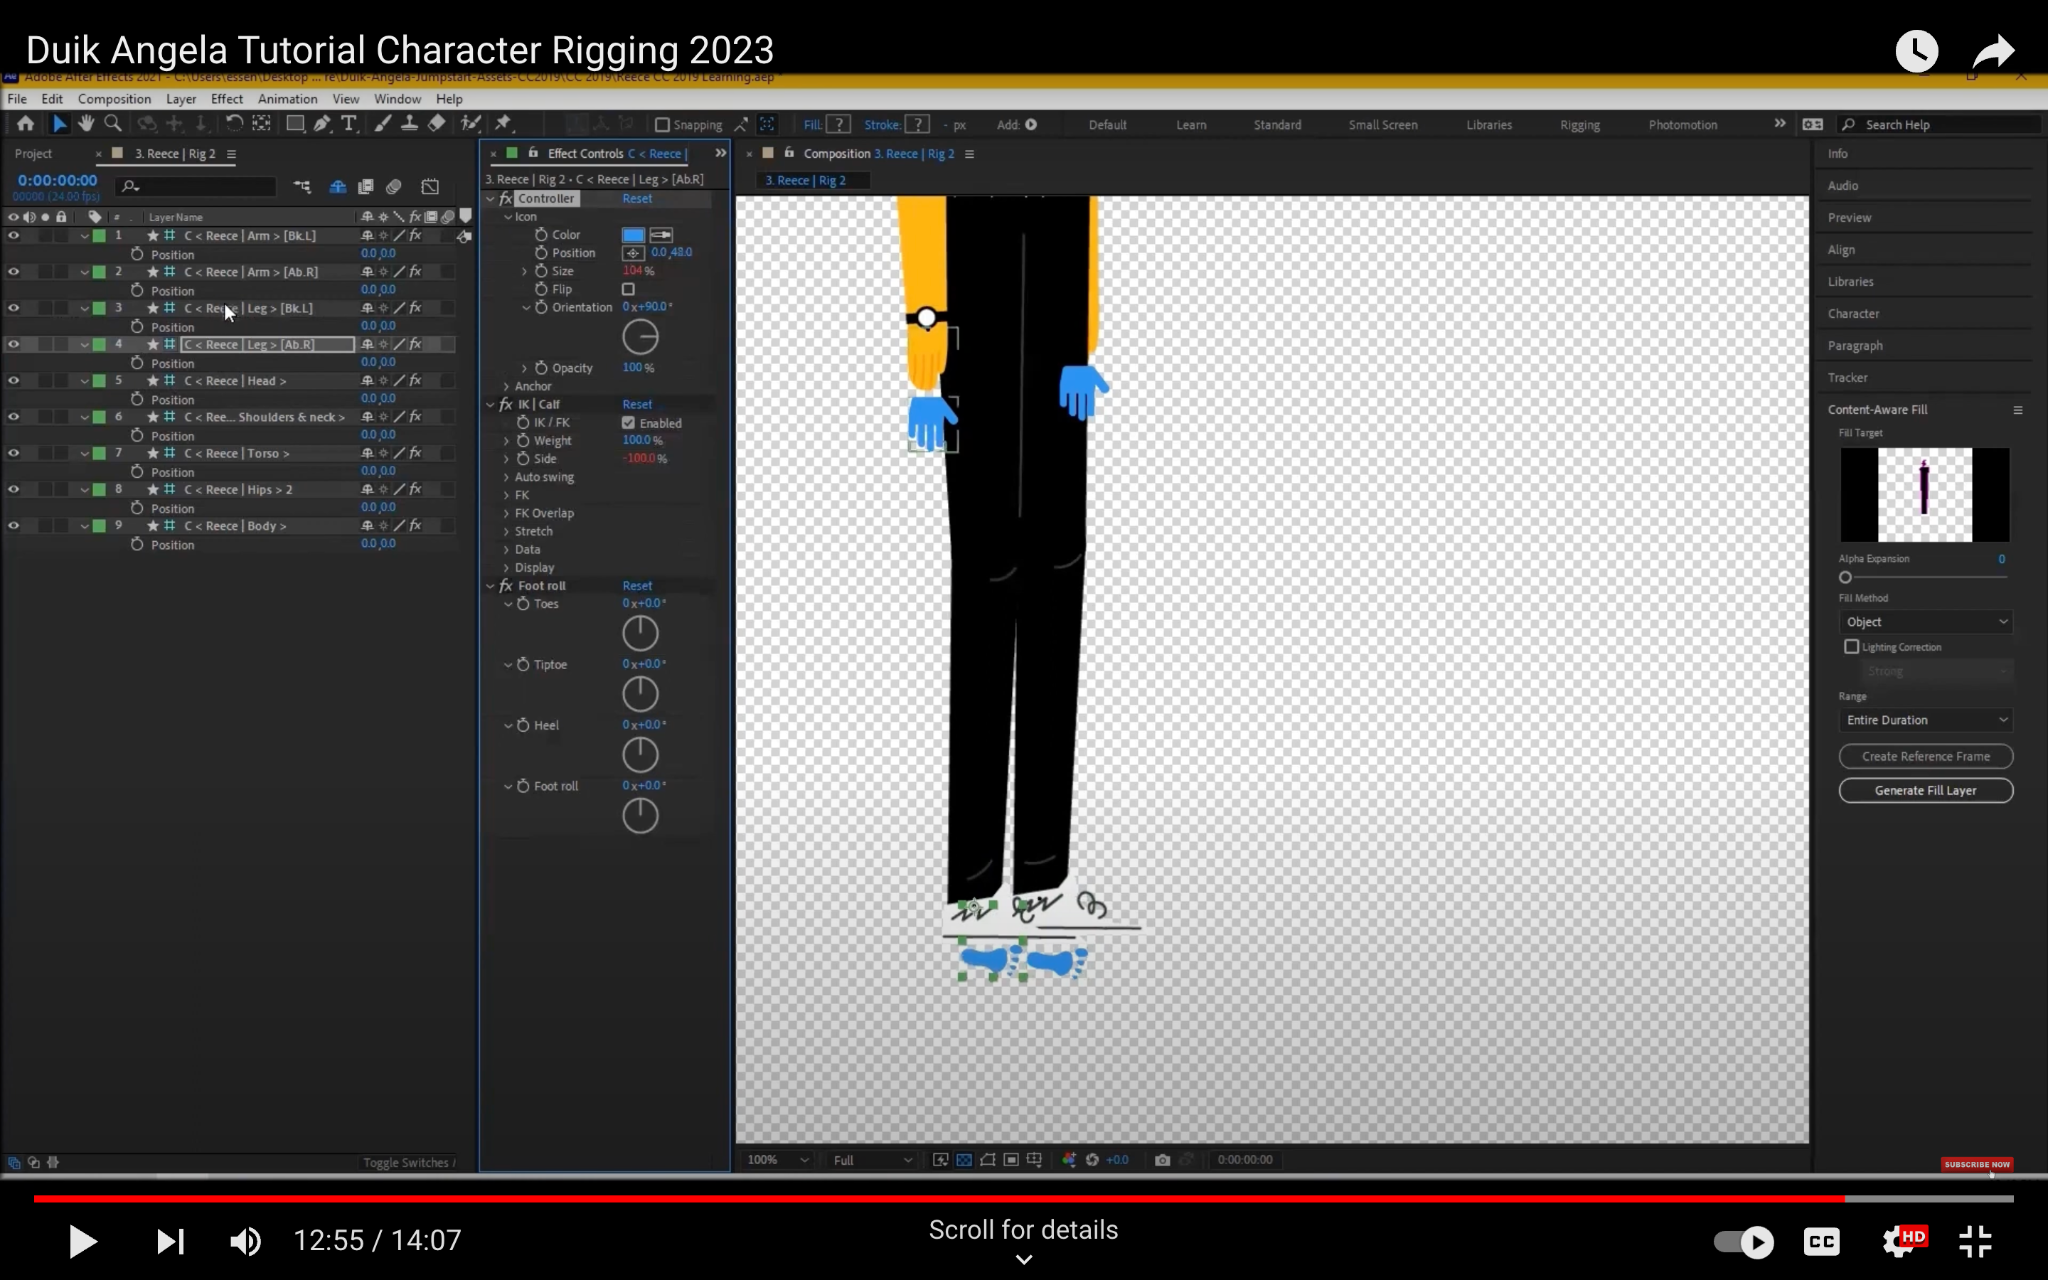
Step 7: Adjust the feet controllers
The feet controllers are used to control the movement of the feet. By default, the feet controllers are placed directly below the feet. However, you may want to adjust the position of the feet controllers so that they are easier to use. To adjust the feet controllers, follow these steps:
- Select the feet controllers.
- Move the feet controllers to the desired location, just below the feet.
- You can also change the size of the feet controllers by typing in the Size property in the Bone Properties dialog box.

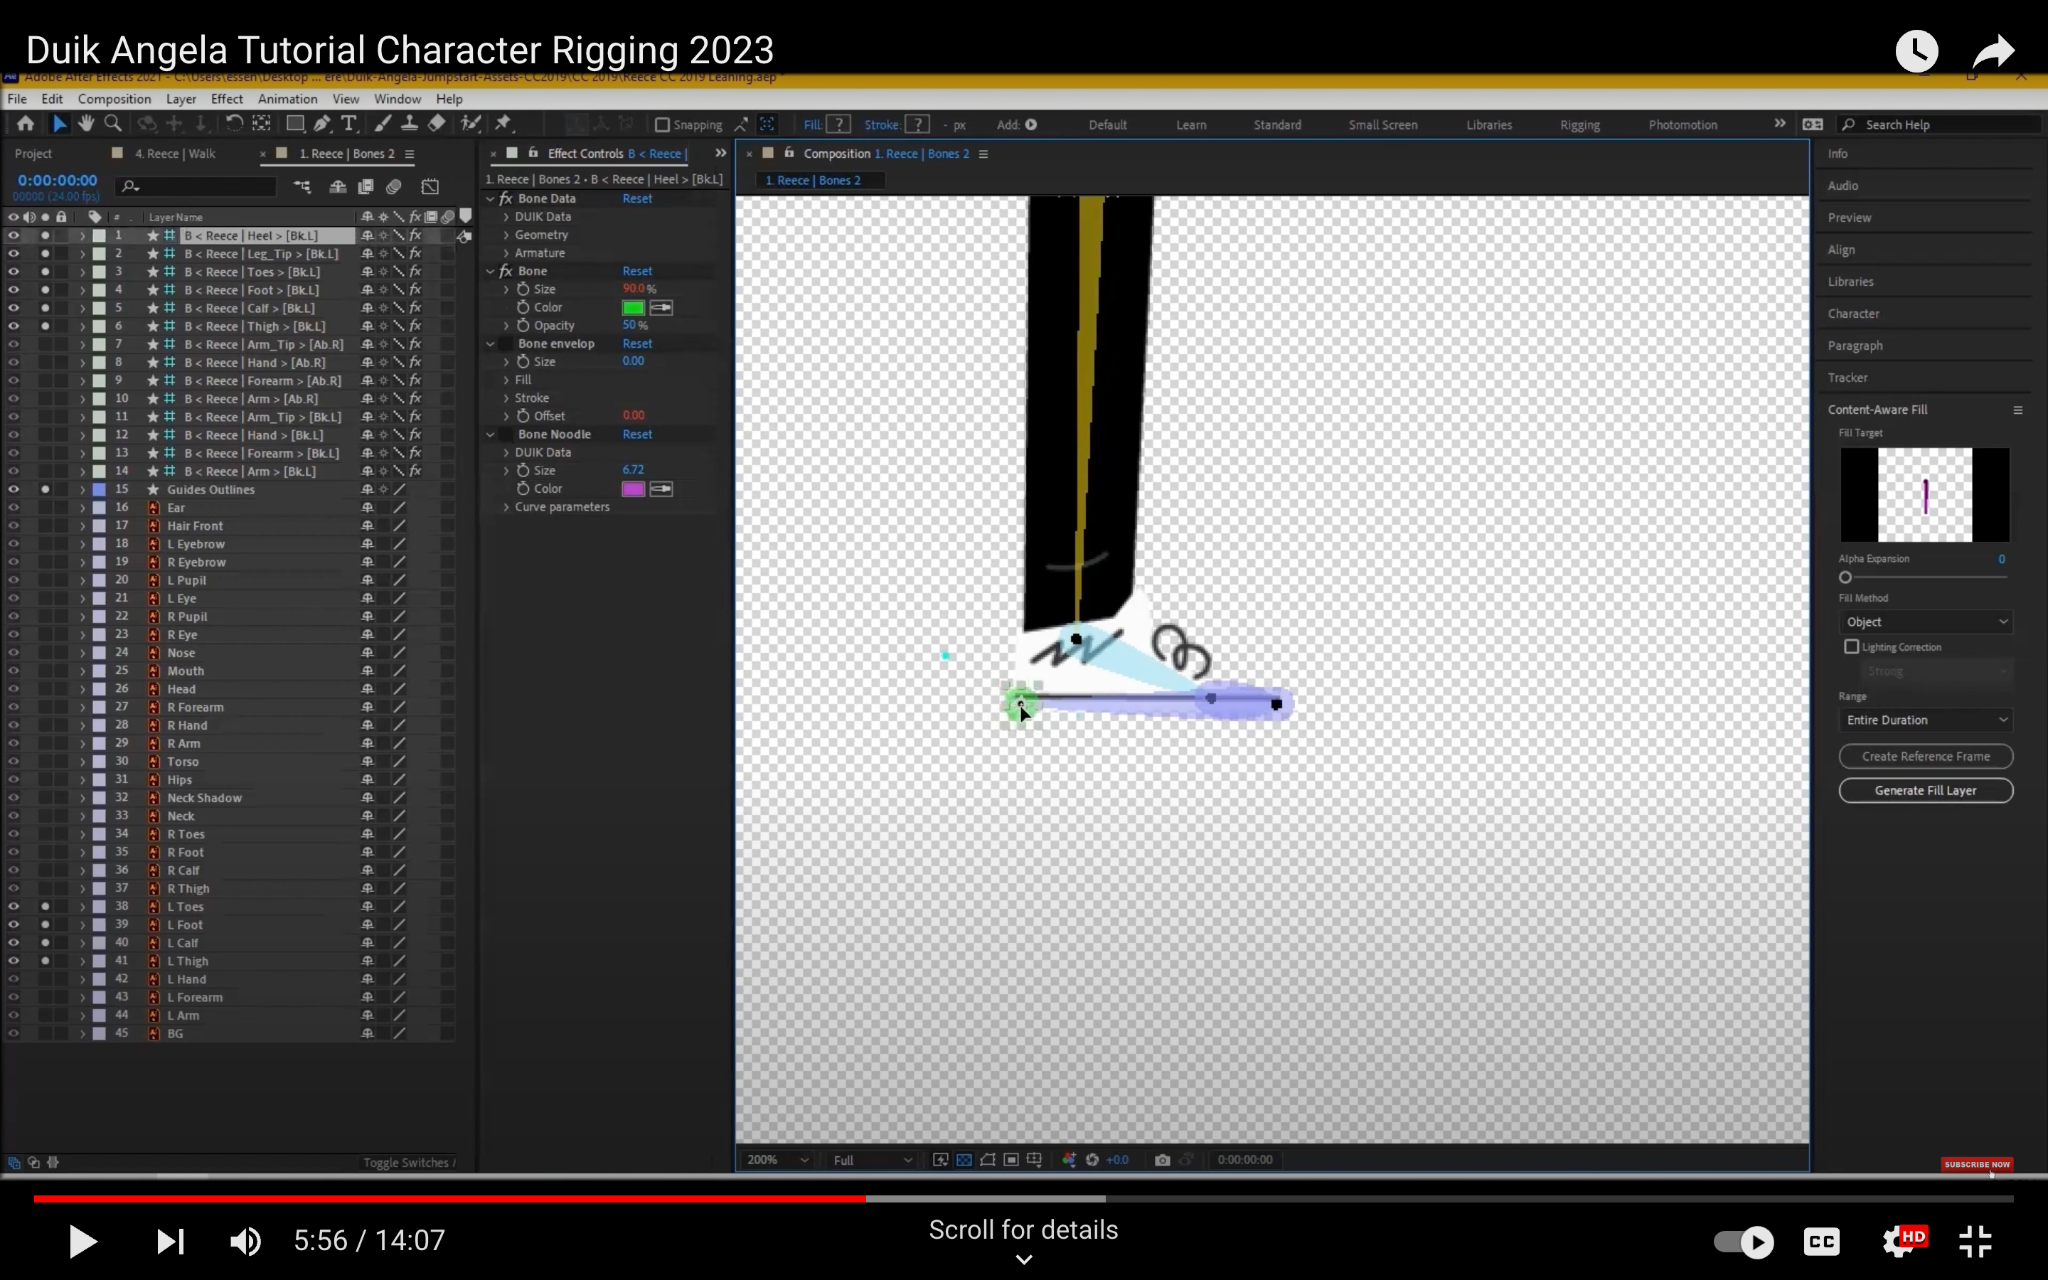
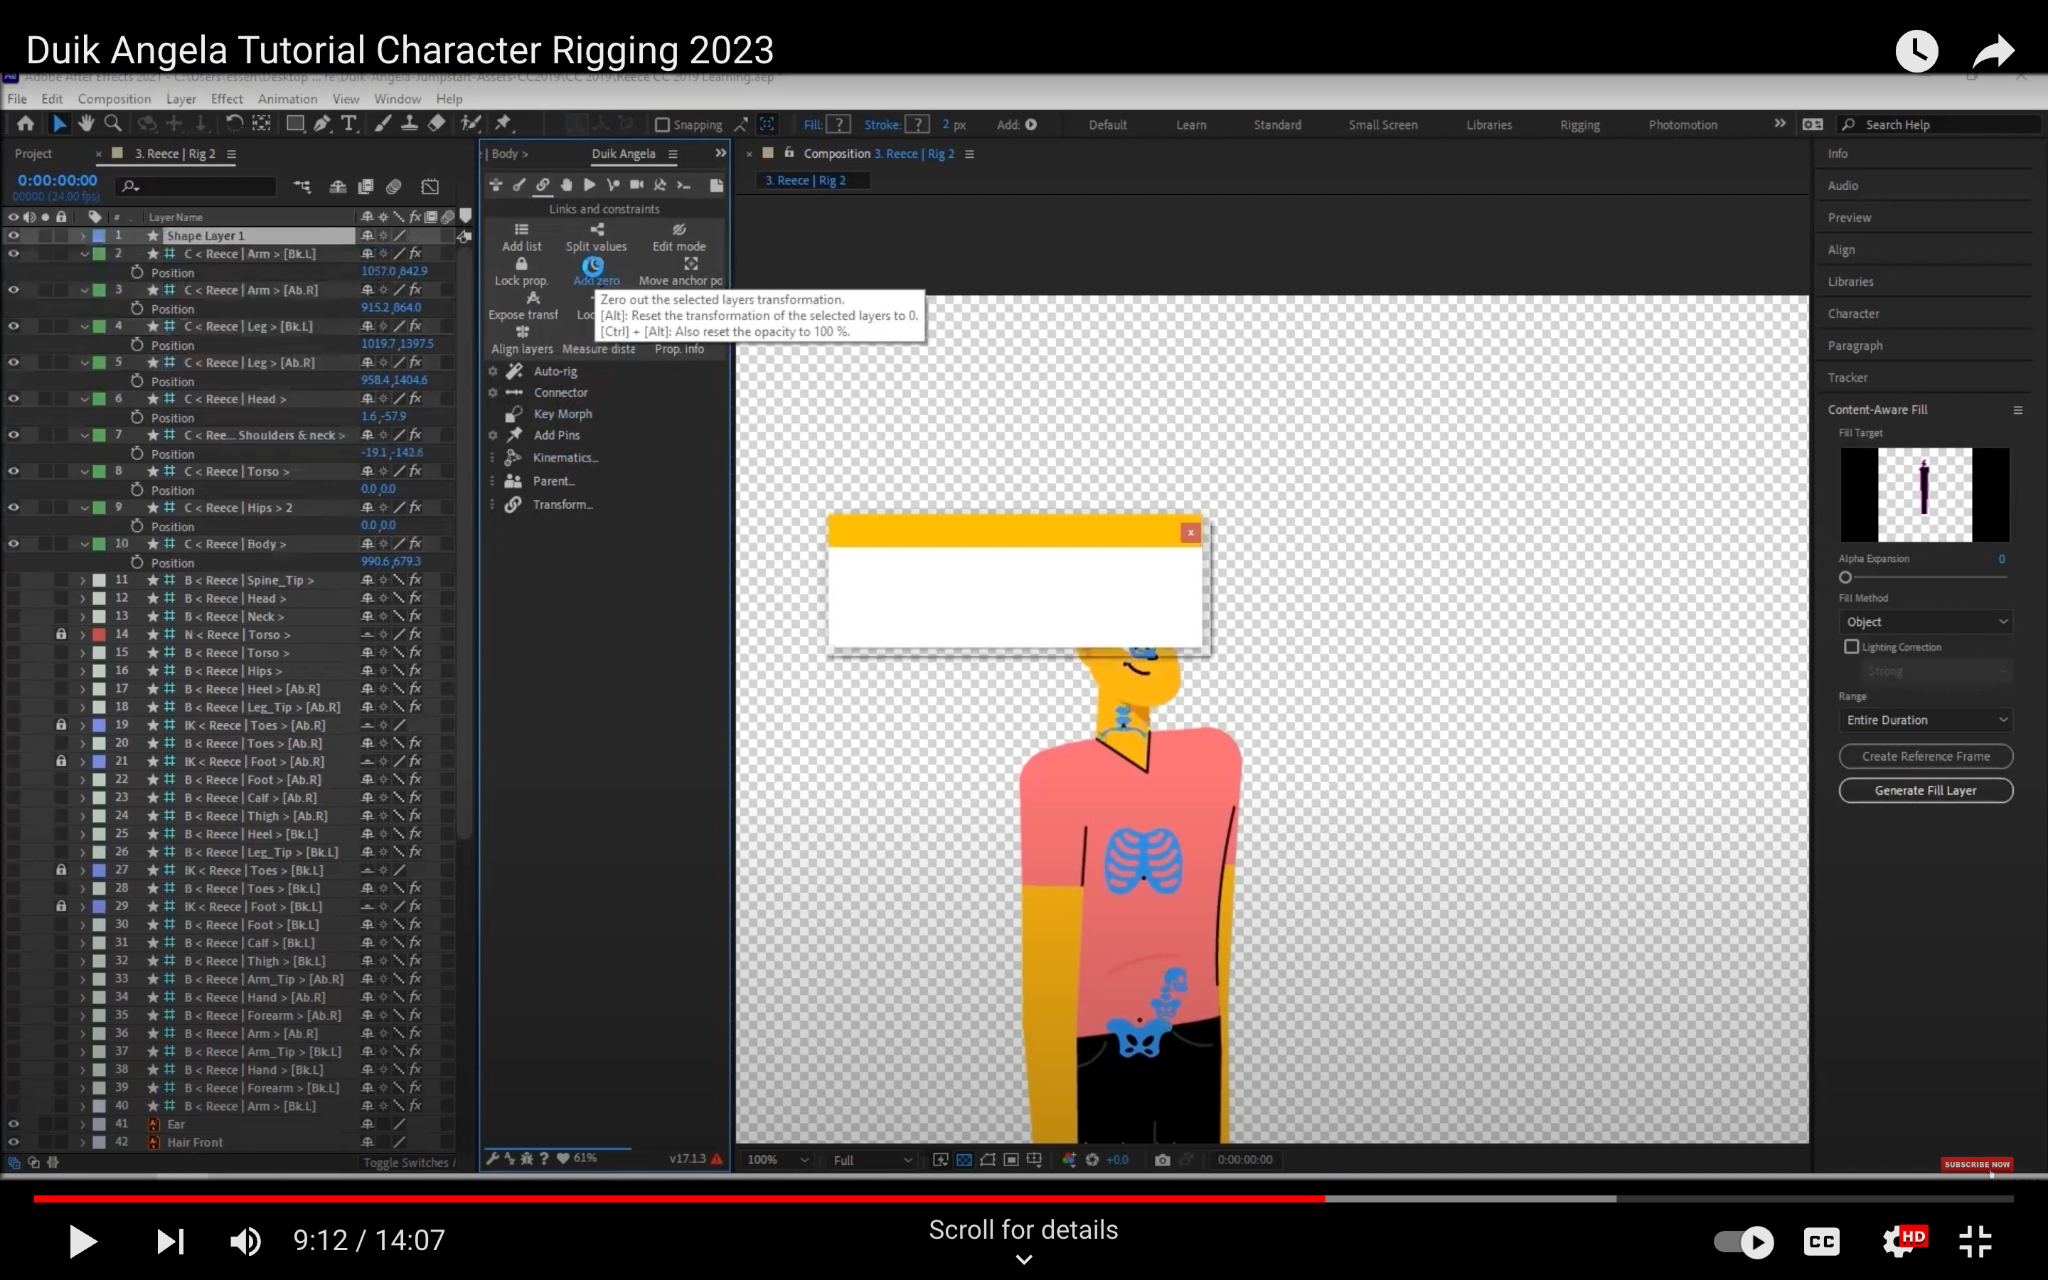
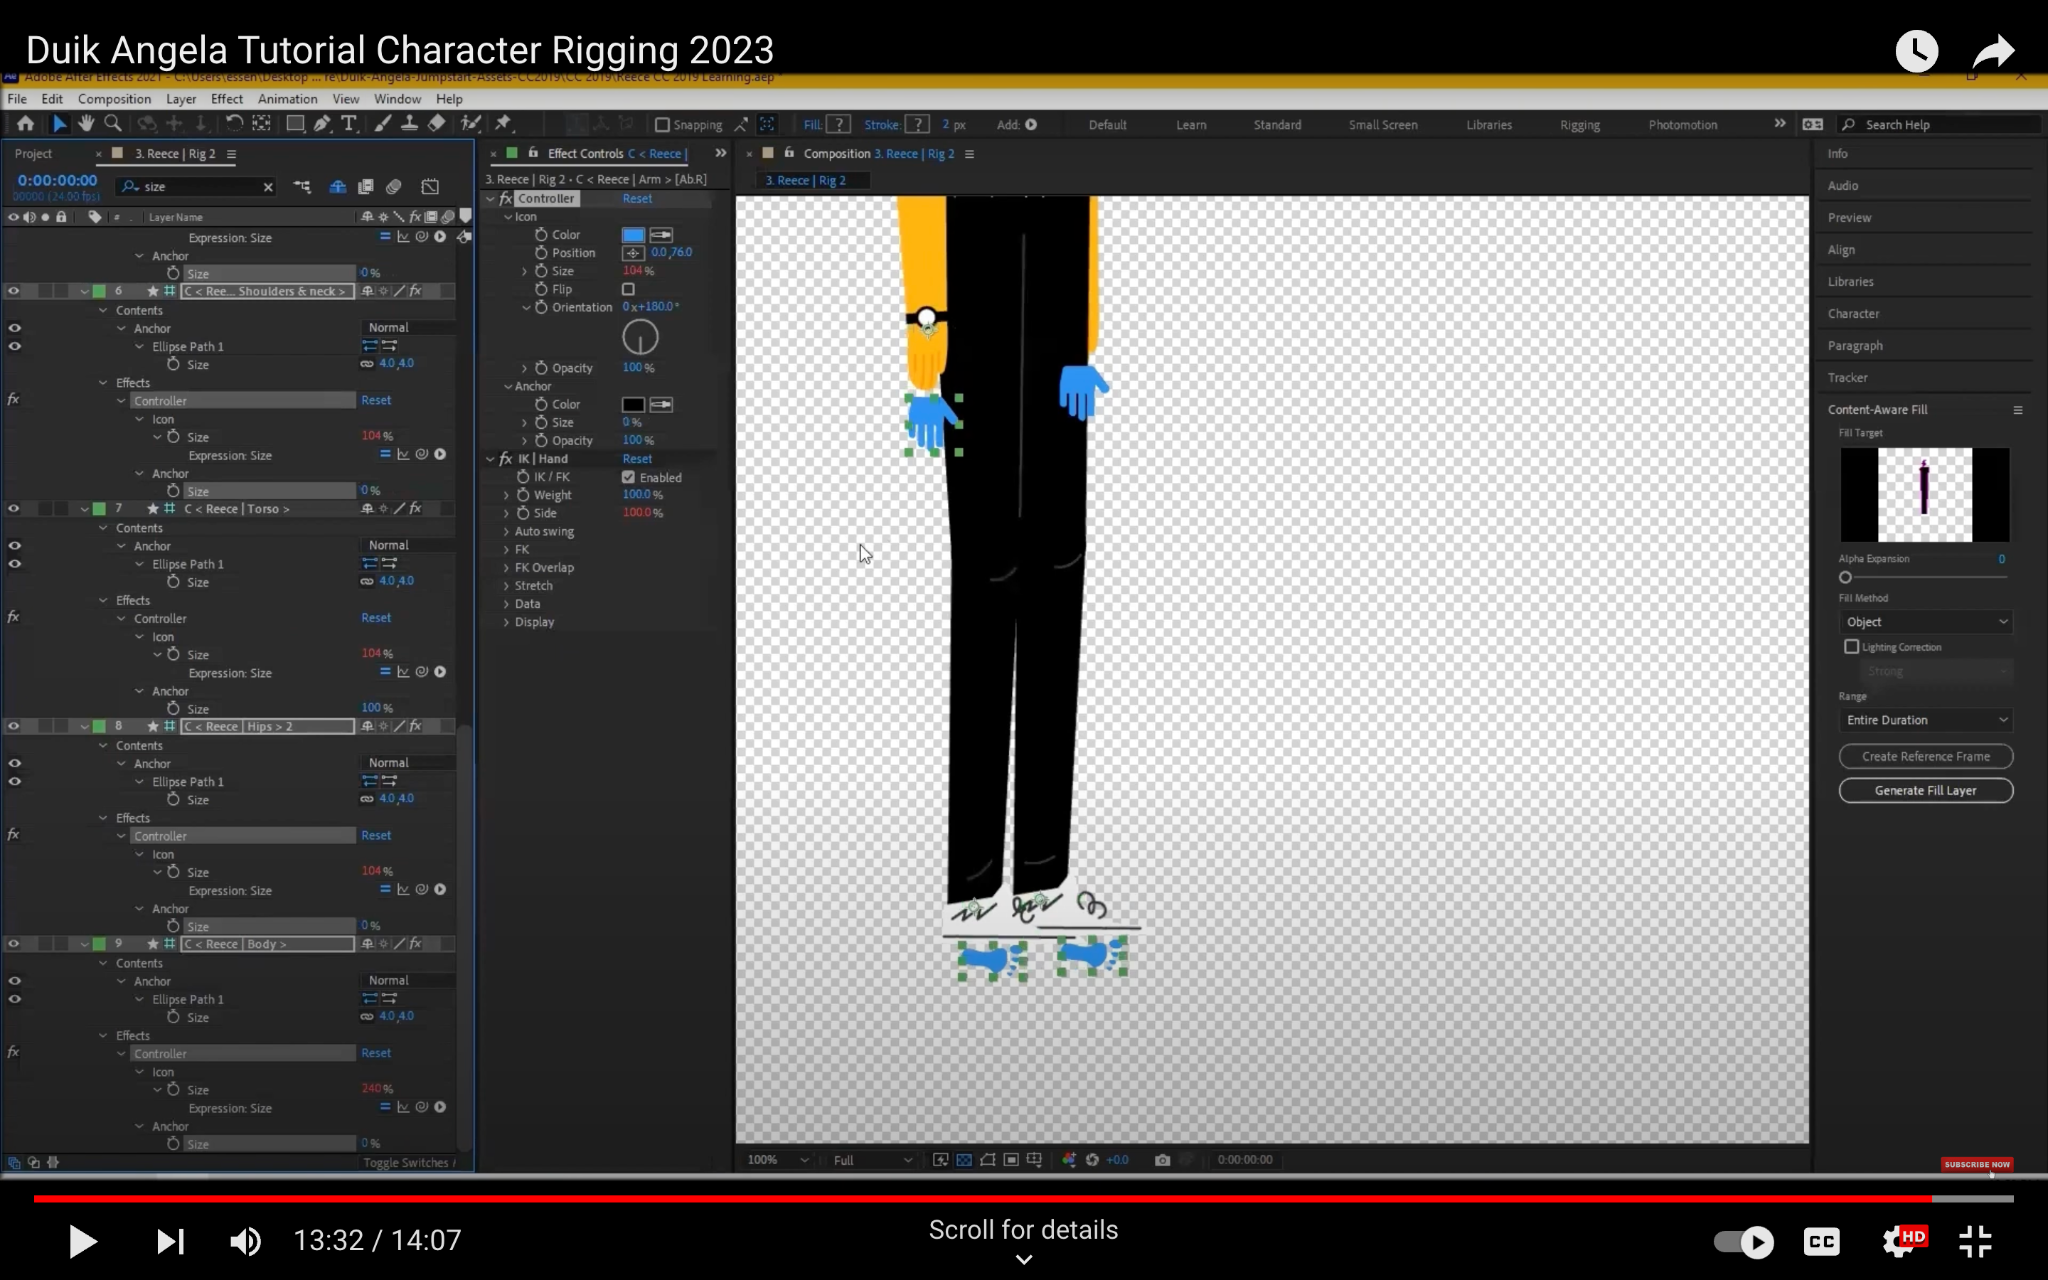
Step 8: Remove the anchor points from the controllers
The anchor points are the points around which the controllers rotate. By default, the anchor points for the controllers are visible. However, you may want to remove the anchor points so that they are not visible in the final animation. To remove the anchor points from the controllers, follow these steps:
- Select all of the controllers.
- In the Bone Properties dialog box, set the Anchor Point property to 0.
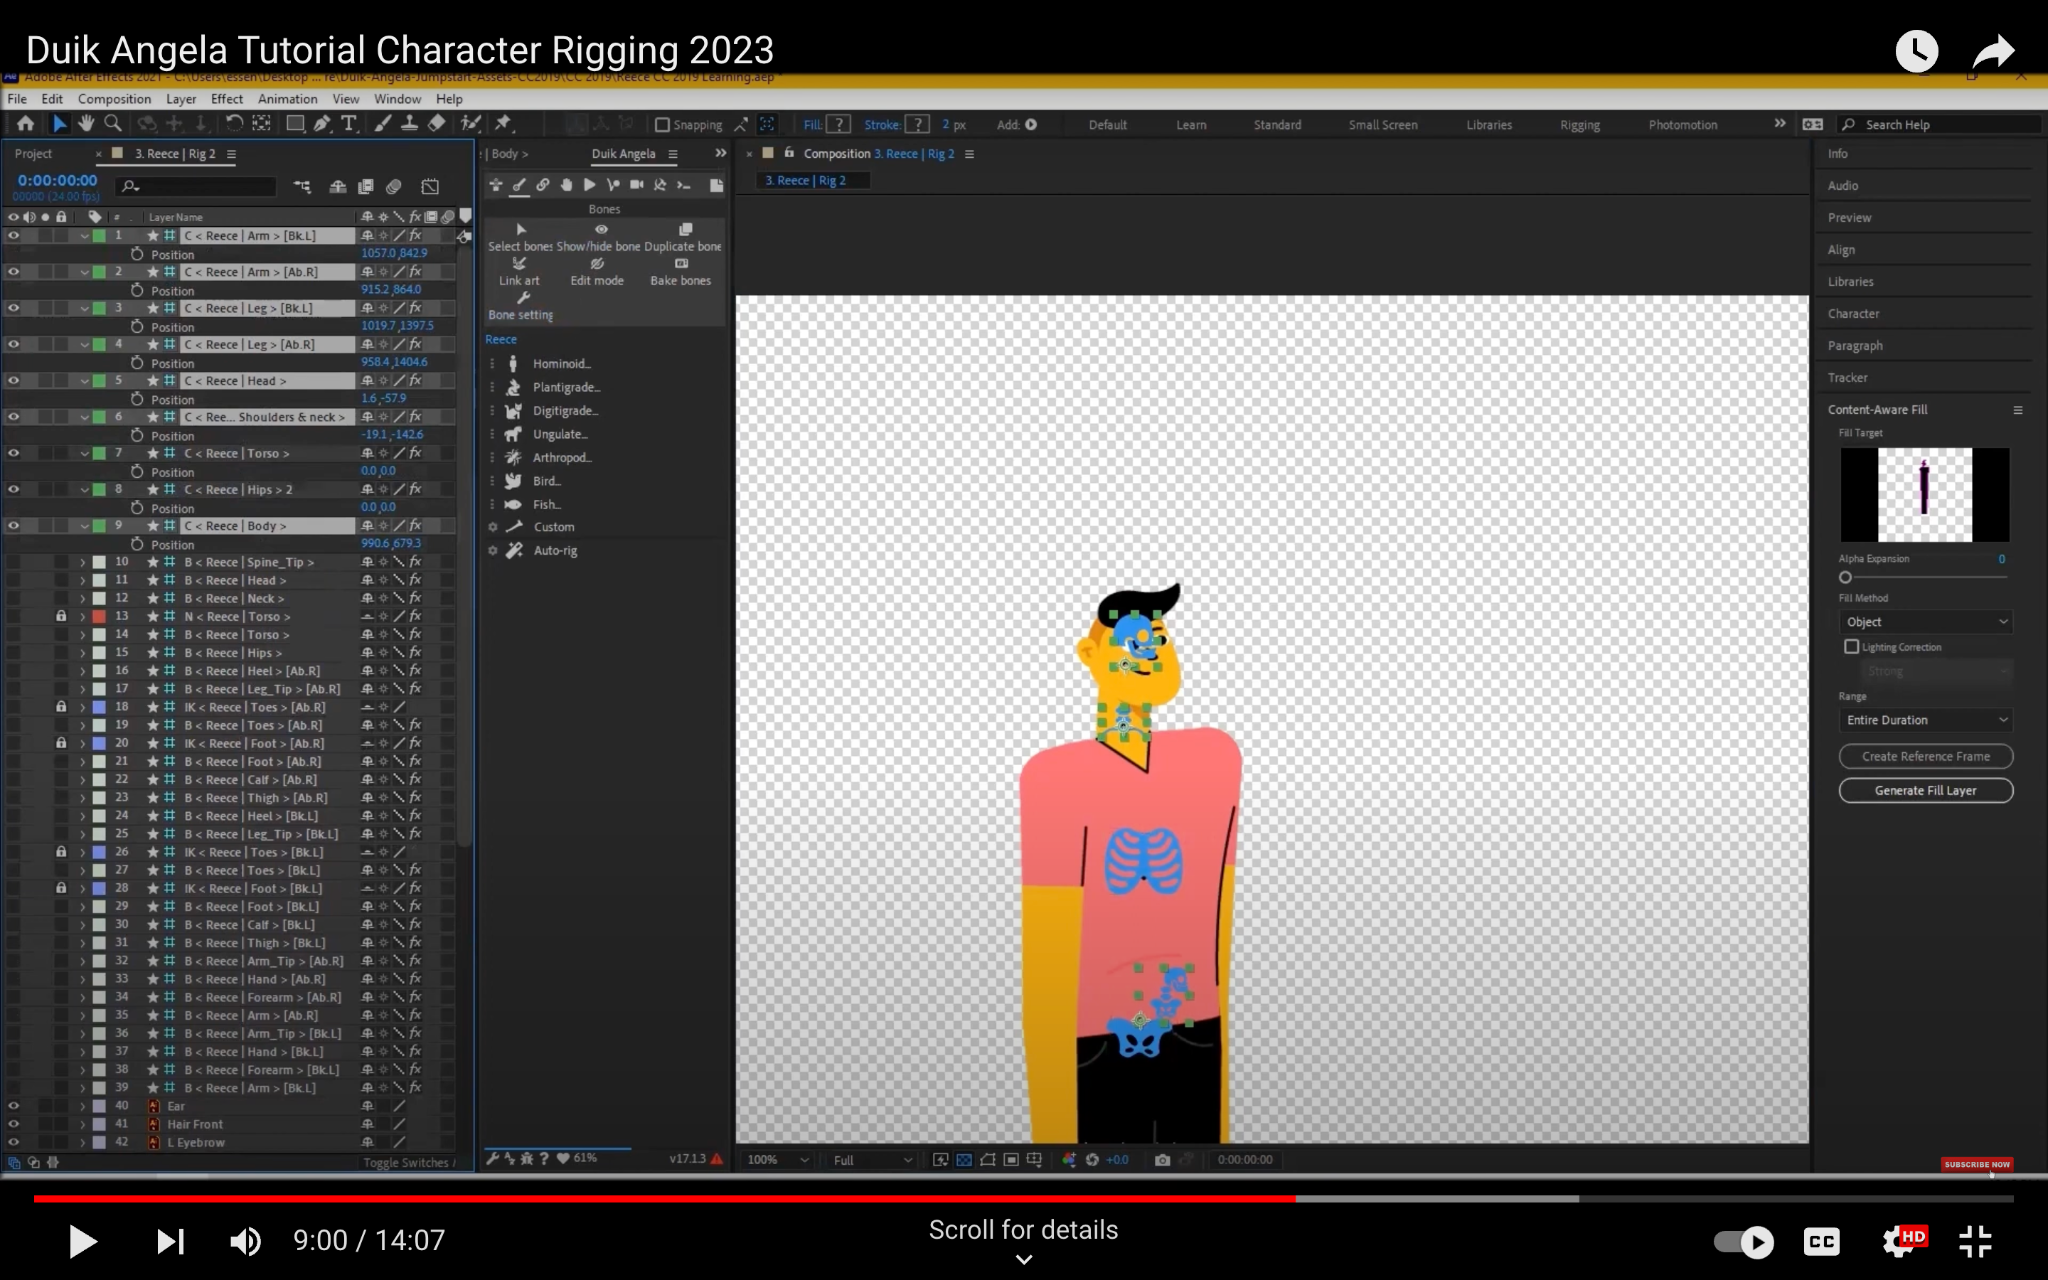
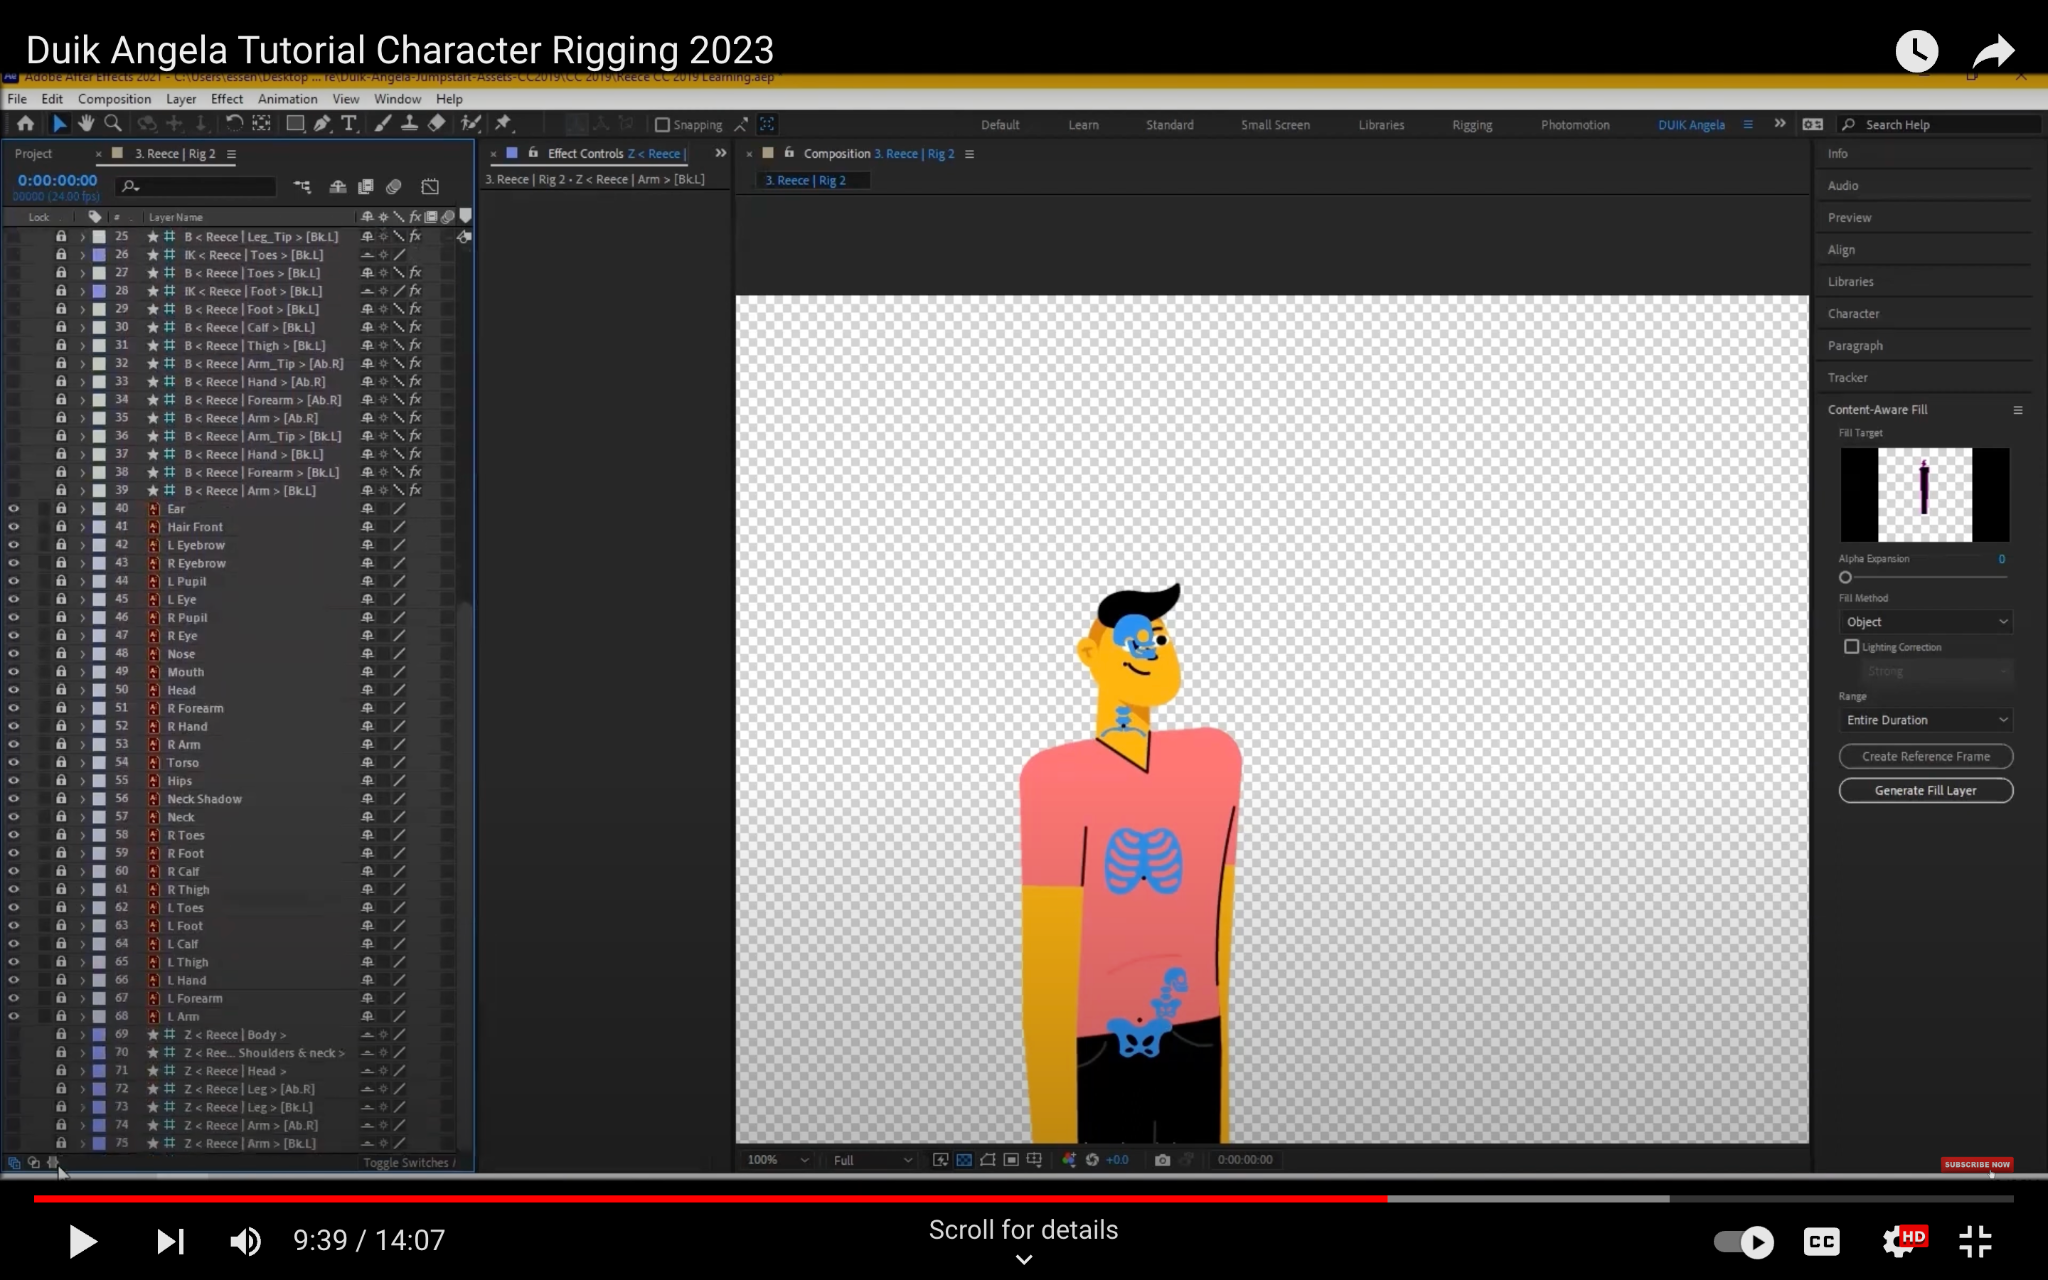
Step 9: Test your rig
Once you have finished adjusting the controllers, you should test your rig to make sure that it works properly. To do this, follow these steps:
- Select the bones that you want to move.
- Move the bones to the desired positions.
If the bones move in the desired way, then your rig is complete. If not, you may need to adjust the controllers or the bones.
Conclusion
Rigging a character in Duik Angela 2023 can be a complex process, but it is a powerful tool that can be used to create realistic and animated characters. By following the steps in this article, you can learn how to rig your own characters in Duik Angela 2023.
Additional tips
- When adjusting the controllers, it is helpful to use the Preview button in the Angela Properties dialog box. This will allow you to see how the changes will affect the movement of the character.
- It is also helpful to test the rig with different animations. This will help you to make sure that the rig is working properly and that the controllers are easy to use.
Next steps
Once you have finished rigging your character, you can start animating it. There are many different ways to animate a character in After Effects. You can use the Duik Angela tools to create simple animations or you can use other animation techniques, such as keyframes or expressions.